Page 158 - Mediapedia Mobile
P. 158
                    PART I1 THE PAGE
04_MP_132-171.indd 154-155
6/19/08
8:12:51 AM
pen tool
The key to working with a pen is to pay close attention to the cursor tip and to the teensy-weensy icons that pop
up when the tip approaches a path or anchor point. The pen is great for tracing and for developing crisp, accurate drawings. A warren of control points (left) produces clean, consistent line work (middle). And of course it scales up or down like a dream. Jamie Kruse
In truth the Brush Tool is more of a stroke and appearance chooser than a drawing tool, but just like the Pen and Pencil Tools, you can put down paths with it. The Brush Tool draws with fluid strokes and uses few anchor points. This makes it ideal for many types of tracing.
The Pen Tool is the best tool to use when you trace.
The Pen Tool is a connect-the-dots tool. It sets different points on a blank art board, and then Illustrator joins these with lines. The anchor points can be turned into Bezier handles, which make the lines into curves. The Pen Tool is also very useful for adding and subtracting anchor points from any vector object. You can display and select the Add, Delete, and Convert Anchor Point Tools by clicking the corresponding icons in the Toolbox. You will quickly realize that keyboard commands work faster when one hand draws with the mouse or stylus while the other hand uses the keyboard to switch tools.
The big deal about the Brush Tool is that you have so much control over the look of the path when a stroke effect is attached. You’ll find many choices and controls via the Brushes palette. Or you can make a custom brush.
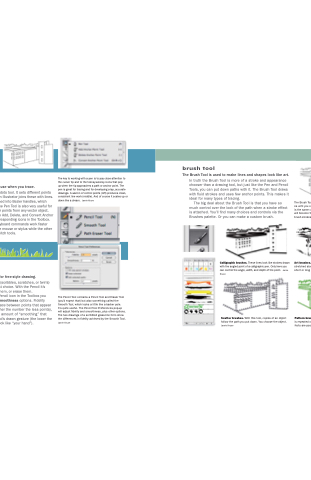
The Brush Tool itself (below left) doesn’t have any choic- es until you open the Brushes palette (bottom left). Here is the same cityscape drawn with the Pen Tool (above). It will become the guinea pig to demonstrate four kinds of brush strokes. Jamie Kruse
pencil tool
Calligraphic brushes. These lines look like strokes drawn with the angled point of a calligraphic pen. Only here you can control the angle, width, and depth of the point. Jamie Kruse
Art brushes. With this brush a long narrow shape is stretched along the length of a path, no matter how short or long that path is. Jamie Kruse
The Pencil Tool is the best tool for free-style drawing.
[ 154 ]
CHAPTER 4: ILLUSTRATION
[ 155 ]
If you want a handmade look (scribbles, scratches, or twirls) then make the Pencil your first choice. With the Pencil it’s easy to redraw lines, add to them, or erase them.
If you double click on the Pencil icon in the Toolbox you
will access the Fidelity and Smoothness options. Fidelity determines the amount of space between points that appear in a pencil-drawn line (the higher the number the less points), and smoothness controls the amount of “smoothing” that Illustrator will add to your hand’s drawn gesture (the lower the percentage, the more it will look like “your hand”).
The Pencil Tool contains a Pencil Tool and Eraser Tool (you’d expect that) but also something called the Smooth Tool, which looks a little like a barber pole.
It’s quite useful. The Pencil Tool Preferences pop-up will adjust fidelity and smoothness, plus other options. The two drawings of a scribbled grass-line form show the differences in fidelity achieved by the Smooth Tool. Jamie Kruse
Scatter brushes. With this tool, copies of an object follow the path you put down. You choose the object. Jamie Kruse
Pattern brushes. Via the Pattern Brush, a tiled pattern is repeated over paths via the Pattern Brush. Many ef- fects are possible. Jamie Kruse
brush tool
The Brush Tool is used to make lines and shapes look like art.


