
Page 27 - Allotment Gardener Issue 1 2024
P. 27
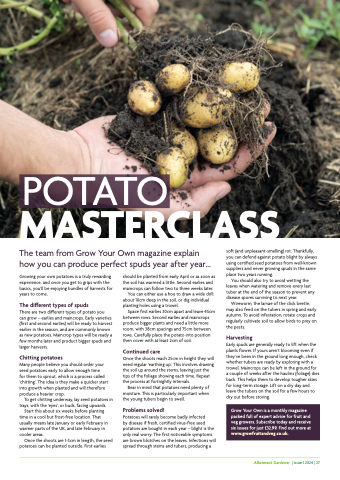
                                 POTATO
 MASTERCLASS
The team from Grow Your Own magazine explain how you can produce perfect spuds year after year...
soft (and unpleasant-smelling) rot. Thankfully, you can defend against potato blight by always using certified seed potatoes from well-known suppliers and never growing spuds in the same place two years running.
You should also try to avoid wetting the leaves when watering and remove every last tuber at the end of the season to prevent any disease spores surviving to next year.
Wireworm, the larvae of the click beetle, may also feed on the tubers in spring and early autumn. To avoid infestation, rotate crops and regularly cultivate soil to allow birds to prey on the pests.
Harvesting
Early spuds are generally ready to lift when the plants flower. If yours aren’t blooming even if they’ve been in the ground long enough, check whether tubers are ready by exploring with a trowel. Maincrops can be left in the ground for a couple of weeks after the haulms (foliage) dies back. This helps them to develop tougher skins for long-term storage. Lift on a dry day and leave the tubers on the soil for a few hours to dry out before storing.
Growing your own potatoes is a truly rewarding experience, and once you get to grips with the basics, you’ll be enjoying bundles of harvests for years to come.
The different types of spuds
There are two different types of potato you can grow – earlies and maincrops. Early varieties (first and second earlies) will be ready to harvest earlier in the season, and are commonly known as new potatoes. Maincrop types will be ready a few months later and product bigger spuds and larger harvests.
Chitting potatoes
Many people believe you should order your seed potatoes early to allow enough time
for them to sprout, which is a process called ‘chitting’. The idea is they make a quicker start into growth when planted and will therefore produce a heavier crop.
To get chitting underway, lay seed potatoes in trays, with the ‘eyes’, or buds, facing upwards.
Start this about six weeks before planting time in a cool but frost-free location. That usually means late January or early February in warmer parts of the UK, and late February in cooler areas.
Once the shoots are 1-3cm in length, the seed potatoes can be planted outside. First earlies
should be planted from early April or as soon as the soil has warmed a little. Second earlies and maincrops can follow two to three weeks later.
You can either use a hoe to draw a wide drill about 10cm deep in the soil, or dig individual planting holes using a trowel.
Space first earlies 30cm apart and leave 45cm between rows. Second earlies and maincrops produce bigger plants and need a little more room, with 38cm spacings and 75cm between rows. Carefully place the potato into position then cover with at least 2cm of soil.
Continued care
Once the shoots reach 25cm in height they will need regular ‘earthing up’. This involves drawing the soil up around the stems, leaving just the tips of the foliage showing each time. Repeat the process at fortnightly intervals.
Bear in mind that potatoes need plenty of moisture. This is particularly important when the young tubers begin to swell.
Problems solved!
Potatoes will rarely become badly infected
by disease if fresh, certified virus-free seed potatoes are bought in each year – blight is the only real worry. The first noticeable symptoms are brown blotches on the leaves. Infections will spread through stems and tubers, producing a
 Grow Your Own is a monthly magazine packed full of expert advice for fruit and veg growers. Subscribe today and receive six issues for just £32.99. Find out more at www.growfruitandveg.co.uk.
 Allotment Gardener | Issue 1 2024 | 27
