
Page 9 - The Color Issue
P. 9
Have you ever had one of those days, getting ready, looking in the mirror and marveled at just how perfect your makeup looks? Perfectly blended foundation, thoughtfully paired eyeshadow and liner, blush and contour applied like silk on the skin. And then you got in your car, checked the rear view mirror for one last look and... nope. Visible foundation line on the chin, streaky blush, and eyeshadow mildly reminiscent of grade school finger painting.
I think everyone has been betrayed by lighting at least once if not a million times in their life, and it’s no different for professional makeup artists. We make the same mistakes as anyone else in the lighting struggle, but we have the advantage of photographers and digital artists to hide those mistakes in editing. This was the case for my featured makeup for the Popina shoot. I did an extensive body paint that looked flawless under even the most fluorescent of lights, but when I put my model under color changing LED lights, it didn’t seem quite so perfect.
I chose an impressionistic path for my paint, inspired by the patina of weathered bronze and the flow of agate stone to give my model the appearance of a sunken figurehead. I chose reflective bronze and golds for beautiful highlighting and direction, surrounded by hand mixed iridescent blues and greens to really show off. I have to tell you, it was gorgeous, I was so proud. But then when it was time to go into the tank and choose perfect lighting, my heart sank a little. The bronze and gold metallics reflected beautifully, but the rest, the blues and greens and liquid iridescence just kind of... didn’t. I didn’t account for the lighting, at least not enough. Now everything turned out ok obviously, but it took a lot more effort than I had originally intended.
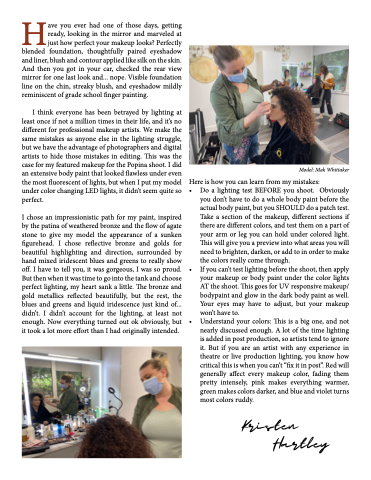
Model: Mak Whittaker
Here is how you can learn from my mistakes:
• Do a lighting test BEFORE you shoot. Obviously you don’t have to do a whole body paint before the actual body paint, but you SHOULD do a patch test. Take a section of the makeup, different sections if there are different colors, and test them on a part of your arm or leg you can hold under colored light. This will give you a preview into what areas you will need to brighten, darken, or add to in order to make
the colors really come through.
• If you can’t test lighting before the shoot, then apply
your makeup or body paint under the color lights AT the shoot. This goes for UV responsive makeup/ bodypaint and glow in the dark body paint as well. Your eyes may have to adjust, but your makeup won’t have to.
• Understand your colors: This is a big one, and not nearly discussed enough. A lot of the time lighting is added in post production, so artists tend to ignore it. But if you are an artist with any experience in theatre or live production lighting, you know how critical this is when you can’t “fix it in post”. Red will generally affect every makeup color, fading them pretty intensely, pink makes everything warmer, green makes colors darker, and blue and violet turns most colors ruddy.
Kristen Hartley
