
Page 80 - Wood Review Dec 202 Full issue
P. 80
WORKSHOPS
4
80
Australian Wood Review
Make a plan
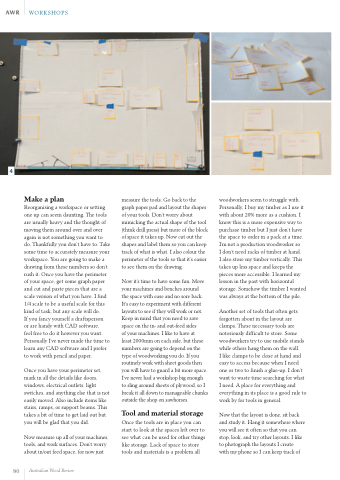
Reorganising a workspace or setting one up can seem daunting. The tools are usually heavy and the thought of moving them around over and over again is not something you want to do. Thankfully you don’t have to. Take some time to accurately measure your workspace. You are going to make a drawing from these numbers so don’t rush it. Once you have the perimeter of your space, get some graph paper and cut and paste pieces that are a scale version of what you have. I find 1/4 scale to be a useful scale for this kind of task, but any scale will do.
If you fancy yourself a draftsperson
or are handy with CAD software,
feel free to do it however you want. Personally I’ve never made the time to learn any CAD software and I prefer to work with pencil and paper.
Once you have your perimeter set, mark in all the details like doors, windows, electrical outlets, light switches, and anything else that is not easily moved. Also include items like stairs, ramps, or support beams. This takes a bit of time to get laid out but you will be glad that you did.
Now measure up all of your machines, tools, and work surfaces. Don’t worry about in/out feed space, for now just
measure the tools. Go back to the graph paper pad and layout the shapes of your tools. Don’t worry about mimicking the actual shape of the tool (think drill press) but more of the block of space it takes up. Now cut out the shapes and label them so you can keep track of what is what. I also colour the perimeter of the tools so that it’s easier to see them on the drawing.
Now it’s time to have some fun. Move your machines and benches around the space with ease and no sore back. It's easy to experiment with different layouts to see if they will work or not. Keep in mind that you need to save space on the in- and out-feed sides
of your machines. I like to have at
least 2000mm on each side, but these numbers are going to depend on the type of woodworking you do. If you routinely work with sheet goods then you will have to guard a bit more space. I’ve never had a workshop big enough to sling around sheets of plywood, so I break it all down to manageable chunks outside the shop on sawhorses.
Tool and material storage
Once the tools are in place you can start to look at the spaces left over to see what can be used for other things like storage. Lack of space to store tools and materials is a problem all
woodworkers seem to struggle with. Personally, I buy my timber as I use it with about 20% more as a cushion. I know this is a more expensive way to purchase timber but I just don’t have the space to order in a pack at a time. I’m not a production woodworker so
I don’t need racks of timber at hand.
I also store my timber vertically. This takes up less space and keeps the pieces more accessible. I learned my lesson in the past with horizontal storage. Somehow the timber I wanted was always at the bottom of the pile.
Another set of tools that often gets forgotten about in the layout are clamps. These necessary tools are notoriously difficult to store. Some woodworkers try to use mobile stands while others hang them on the wall.
I like clamps to be close at hand and easy to access because when I need one or two to finish a glue-up, I don’t want to waste time searching for what I need. A place for everything and everything in its place is a good rule to work by for tools in general.
Now that the layout is done, sit back and study it. Hang it somewhere where you will see it often so that you can stop, look, and try other layouts. I like to photograph the layouts I create
with my phone so I can keep track of
