Page 249 - Master Catalog 2017, Inch
P. 249
Toolholders
                                                                                                 Catalog Numbering System


                    By referencing this easy-to-use guide, you can
                  identify the correct product to meet your needs.


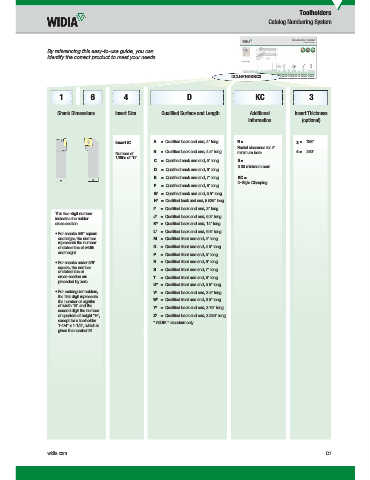
                                                                                   DCLNR164DKC3


                      1          6           4                     D                       KC                 3


                      Shank Dimensions    Insert Size     Qualifi ed Surface and Length   Additional      Insert Thickness
                                                                                         Information       (optional)


                                          Insert iC    A  = Qualifi ed back and end, 4" long  R =        3 = .188"
                                                                                     Radial clearance for 4"
                                                       B  = Qualifi ed back and end, 4.5" long           4 = .250"
                                          Number of                                  minimum bore
                                          1/8ths of “D”
                                                       C  = Qualifi ed back and end, 5" long  S =
                                                                                     3.00 minimum bore
                                                       D  = Qualifi ed back and end, 6" long
                                                       E  = Qualifi ed back and end, 7" long  KC =
                                                                                     D-Style Clamping
                                                       F  = Qualifi ed back and end, 8" long
                                                       G* = Qualifi ed back and end, 5.5" long
                                                       H* = Qualifi ed back and end, 5.625" long
                                                       I*  = Qualifi ed back and end, 3" long
                     This two-digit number             J* = Qualifi ed back and end, 5.3" long
                     indicates the holder
                     cross section.                    K* = Qualifi ed back and end, 14" long
                                                       L* = Qualifi ed back and end, 6.8" long
                     •  For shanks 5/8" square
                      and larger, the number           M = Qualifi ed front and end, 4" long
                      represents the number
                      of sixteenths of width           N  = Qualifi ed front and end, 4.5" long
                      and height.                      P  = Qualifi ed front and end, 5" long
                     •  For shanks under 5/8"          R  = Qualifi ed front and end, 6" long
                      square, the number               S  = Qualifi ed front and end, 7" long
                      of sixteenths of
                      cross-section are                T  = Qualifi ed front and end, 8" long
                      preceded by zero.
                                                       U* = Qualifi ed front and end, 5.5" long
                     •  For rectangular holders,       V* = Qualifi ed back and end, 3.5" long
                      the fi rst digit represents
                      the number of eighths            W* = Qualifi ed front and end, 3.5" long
                      of width “B” and the             Y* = Qualifi ed back and end, 3.75" long
                      second digit the number
                      of quarters of height “H”,       Z* = Qualifi ed back and end, 3.250" long
                      except for a toolholder          * WIDIA ™  standard only.
                      1-1/4" x 1-1/2", which is
                      given the number 91.


                  widia.com                                                                                         C7


                                                                                                                   11/10/15   11:04 AM
         WID_Master16_Turning_Holders_C006_C007_Minch_REBRAND.indd   7  L  V i WID M  16 T  i  H ld  C006 C007 Mi h REBRANDN  b 920151128AM

