
Page 61 - Excel 2013 All-in-One For Dummies
P. 61
Tailoring the Quick Access Toolbar to Your Tastes 43
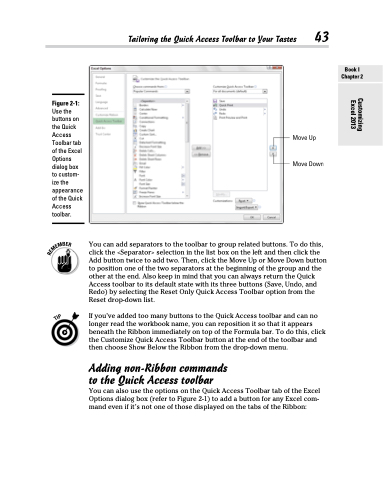
Figure 2-1:
Use the buttons on the Quick Access Toolbar tab of the Excel Options dialog box to custom- ize the appearance of the Quick Access toolbar.
You can add separators to the toolbar to group related buttons. To do this, click the <Separator> selection in the list box on the left and then click the Add button twice to add two. Then, click the Move Up or Move Down button to position one of the two separators at the beginning of the group and the other at the end. Also keep in mind that you can always return the Quick Access toolbar to its default state with its three buttons (Save, Undo, and Redo) by selecting the Reset Only Quick Access Toolbar option from the Reset drop-down list.
If you’ve added too many buttons to the Quick Access toolbar and can no longer read the workbook name, you can reposition it so that it appears beneath the Ribbon immediately on top of the Formula bar. To do this, click the Customize Quick Access Toolbar button at the end of the toolbar and then choose Show Below the Ribbon from the drop-down menu.
Adding non-Ribbon commands to the Quick Access toolbar
You can also use the options on the Quick Access Toolbar tab of the Excel Options dialog box (refer to Figure 2-1) to add a button for any Excel com- mand even if it’s not one of those displayed on the tabs of the Ribbon:
Book I Chapter 2
Customizing Excel 2013
