
Page 142 - luminar 2018 - user manual pc v 2_3.pages
P. 142
Batch Settings
When you ready to configure the batch process, there are several useful settings to choose from.
• Preset. The Preset controls let you choose from any Luminar preset. This includes all
bundled presets, installed presets, and user-generated ones. First, choose the Category and
then the individual Preset. You can use the Amount slider to refine the preset’s strength.
• Save to. This option lets you choose where processed files will be saved. You can save them
in their current location or browse to select another folder. When you’ve made a choice, the
file “path” will be displayed. Note: Because it is possible to overwrite your original files, it is a
good practice to save your batch-processed files into a new folder separate from the original
files.
• Naming. Luminar 2018 has very flexible file naming options. You can add a prefix and suffix,
choose from a variety of base names and even select the case of the letters. This gives you
tremendous flexibility to organize your files as part of the batch processing operation.
• Format. Choose way type of file should be created. You can make a JPEG, JPEG-2000,
PNG, PDF, TIFF or PSD file during the batch processing.
• Color Profile. This controls how the colors are interpreted. Options include sRGB, Adobe
RGB, and ProPhoto RGB
• Resize. Easily choose a dimension for the new files.
Running the Batch
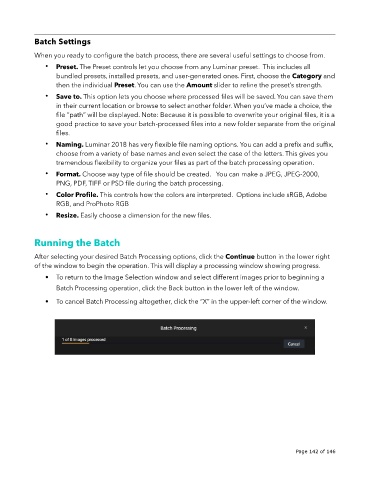
After selecting your desired Batch Processing options, click the Continue button in the lower right
of the window to begin the operation. This will display a processing window showing progress.
• To return to the Image Selection window and select different images prior to beginning a
Batch Processing operation, click the Back button in the lower left of the window.
• To cancel Batch Processing altogether, click the “X” in the upper-left corner of the window.
!
!
Page 142 of 146