
Page 2 - How to Flare Tube Guide
P. 2
specifically for automotive use and ordered to your specification.
Stainless Tube: has many benefits. It will never corrode and it has a bright glossy finish that can be polished to
chrome but requires a better tool to flare. This tubing is also on the market in many different grades, thickness, and
hardness which all play a role in how hard it will be to flare. General tubing can be very hard to flare and the finish
may not hold up depending on the composition of the tube. Inline stainless tubing is 304 grade, 028 fully annealed,
with a bright finish. This all means that it is the easiest to to work with on the market.
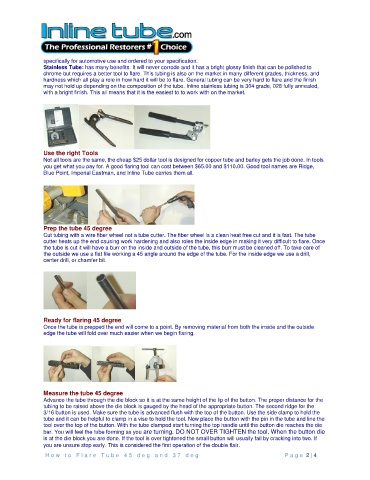
Use the right Tools
Not all tools are the same, the cheap $25 dollar tool is designed for copper tube and barley gets the job done. In tools
you get what you pay for. A good flaring tool can cost between $65.00 and $110.00. Good tool names are Ridge,
Blue Point, Imperial Eastman, and Inline Tube carries them all.
Prep the tube 45 degree
Cut tubing with a wire fiber wheel not a tube cutter. The fiber wheel is a clean heat free cut and it is fast. The tube
cutter heats up the end causing work hardening and also roles the inside edge in making it very difficult to flare. Once
the tube is cut it will have a burr on the inside and outside of the tube, this burr must be cleaned off. To take care of
the outside we use a flat file working a 45 angle around the edge of the tube. For the inside edge we use a drill,
center drill, or chamfer bit.
Ready for flaring 45 degree
Once the tube is prepped the end will come to a point. By removing material from both the inside and the outside
edge the tube will fold over much easier when we begin flaring.
Measure the tube 45 degree
Advance the tube through the die block so it is at the same height of the lip of the button. The proper distance for the
tubing to be raised above the die block is gauged by the head of the appropriate button. The second ridge for the
3/16 button is used. Make sure the tube is advanced flush with the top of the button. Use the side clamp to hold the
tube and it can be helpful to clamp in a vise to hold the tool. Now place the button with the pin in the tube and line the
tool over the top of the button. With the tube clamped start turning the top handle until the button die reaches the die
bar. You will feel the tube forming as you are turning. DO NOT OVER TIGHTEN the tool. When the button die
is at the die block you are done. If the tool is over tightened the small button will usually fail by cracking into two. If
you are unsure stop early. This is considered the first operation of the double flair.
H o w t o F l a r e T u b e 4 5 d e g a n d 3 7 d e g P a g e 2 | 4