
Page 30 - December 2019
P. 30
Modeling with the canopy in the open position makes
it much easier to show the cockpit and instrument
panel details (see accompanying P-40 image). To do
this, you often need to separate the sliding hood from
Vacuum-Formed Canopies for Added the forward windscreen. To make this separation cut,
tape the canopy on its side with masking tape. Place
Realism
the double edged razor blade as far into the canopy
When you look at a warbird, especially with the as possible while carefully lining up on the frame
canopy open, you will notice that the cross section of outline. Study historical photos to make sure that you
the glass or plexiglass is quite thin. A detail that are cutting to the correct side of the frame. Carefully
reduces realism in scale plastic models is the out-of- make a guillotine-like cut starting with the far point
scale thickness of the clear plastic parts especially in inside the canopy. Repeat the cut on the opposite
1/48 and 1/72 scale kits. Back in the day, modelers side. When both sides are cut, tape the canopy upside
used to painstakingly hone out (sand down from down and slide the single edged razor into the fresh
inside) and polish plastic canopies to give them a cuts and precisely press straight down to make the
true-to-scale thickness. Fortunately for us today, we final cut.
can usually find aftermarket vacuum-formed canopies
To glue the canopy in place, the two popular choices
to use with our kits.
are white glue or super glue. I have not had good luck
with super glue because its fumes have a tendency to
frost or fog the clear canopy surface. I use white glue
and after it dries, I carefully fill the bottom gap by
pressing epoxy putty into it. When the putty dries,
mask off the clear plastic part to protect it from
scratching and carefully sand down to make a smooth
seam between the canopy and the airframe. This
results in an authentic-looking off-white seal.
The final step is painting the canopy. I use a couple of
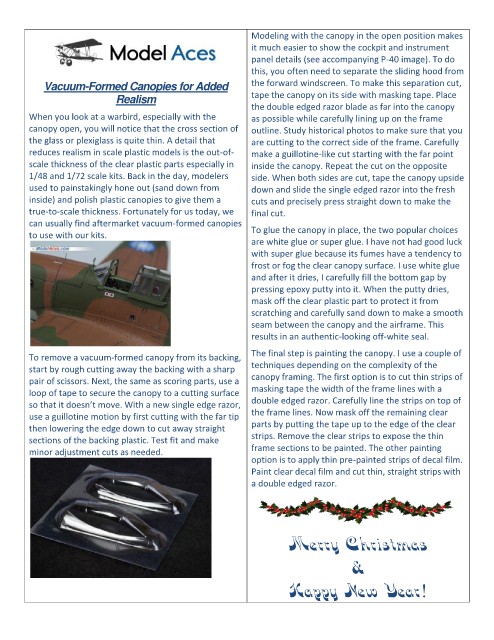
To remove a vacuum-formed canopy from its backing,
techniques depending on the complexity of the
start by rough cutting away the backing with a sharp
pair of scissors. Next, the same as scoring parts, use a canopy framing. The first option is to cut thin strips of
masking tape the width of the frame lines with a
loop of tape to secure the canopy to a cutting surface
double edged razor. Carefully line the strips on top of
so that it doesn’t move. With a new single edge razor,
use a guillotine motion by first cutting with the far tip the frame lines. Now mask off the remaining clear
parts by putting the tape up to the edge of the clear
then lowering the edge down to cut away straight
strips. Remove the clear strips to expose the thin
sections of the backing plastic. Test fit and make
frame sections to be painted. The other painting
minor adjustment cuts as needed.
option is to apply thin pre-painted strips of decal film.
Paint clear decal film and cut thin, straight strips with
a double edged razor.
Merry Christmas
&
Happy New Year!