
Page 118 - Derek E. Avery - The new encyclopedia of knots
P. 118
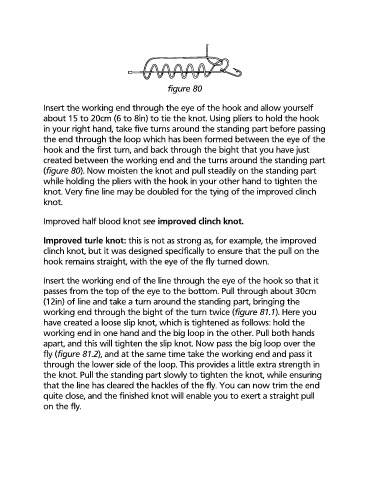
figure 80


               Insert the working end through the eye of the hook and allow yourself
               about 15 to 20cm (6 to 8in) to tie the knot. Using pliers to hold the hook
               in your right hand, take five turns around the standing part before passing
               the end through the loop which has been formed between the eye of the
               hook and the first turn, and back through the bight that you have just
               created between the working end and the turns around the standing part
               (figure 80). Now moisten the knot and pull steadily on the standing part

               while holding the pliers with the hook in your other hand to tighten the
               knot. Very fine line may be doubled for the tying of the improved clinch
               knot.


               Improved half blood knot see improved clinch knot.


               Improved turle knot: this is not as strong as, for example, the improved
               clinch knot, but it was designed specifically to ensure that the pull on the
               hook remains straight, with the eye of the fly turned down.


               Insert the working end of the line through the eye of the hook so that it
               passes from the top of the eye to the bottom. Pull through about 30cm

               (12in) of line and take a turn around the standing part, bringing the
               working end through the bight of the turn twice (figure 81.1). Here you
               have created a loose slip knot, which is tightened as follows: hold the
               working end in one hand and the big loop in the other. Pull both hands
               apart, and this will tighten the slip knot. Now pass the big loop over the
               fly (figure 81.2), and at the same time take the working end and pass it
               through the lower side of the loop. This provides a little extra strength in

               the knot. Pull the standing part slowly to tighten the knot, while ensuring
               that the line has cleared the hackles of the fly. You can now trim the end
               quite close, and the finished knot will enable you to exert a straight pull
               on the fly.