
Page 299 - Beginning PHP 5.3
P. 299
Chapter 9: Handling HTML Forms with PHP
}
}
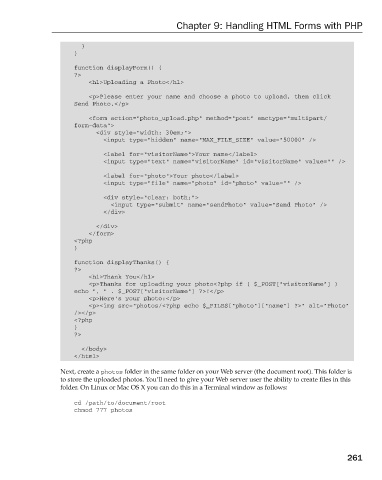
function displayForm() {
?>
<h1>Uploading a Photo</h1>
<p>Please enter your name and choose a photo to upload, then click
Send Photo.</p>
<form action=”photo_upload.php” method=”post” enctype=”multipart/
form-data”>
<div style=”width: 30em;”>
<input type=”hidden” name=”MAX_FILE_SIZE” value=”50000” />
<label for=”visitorName”>Your name</label>
<input type=”text” name=”visitorName” id=”visitorName” value=”” />
<label for=”photo”>Your photo</label>
<input type=”file” name=”photo” id=”photo” value=”” />
<div style=”clear: both;”>
<input type=”submit” name=”sendPhoto” value=”Send Photo” />
</div>
</div>
</form>
<?php
}
function displayThanks() {
?>
<h1>Thank You</h1>
<p>Thanks for uploading your photo<?php if ( $_POST[“visitorName”] )
echo “, “ . $_POST[“visitorName”] ?>!</p>
<p>Here’s your photo:</p>
<p><img src=”photos/<?php echo $_FILES[“photo”][“name”] ?>” alt=”Photo”
/></p>
<?php
}
?>
</body>
</html>
Next, create a photos folder in the same folder on your Web server (the document root). This folder is
to store the uploaded photos. You’ll need to give your Web server user the ability to create files in this
folder. On Linux or Mac OS X you can do this in a Terminal window as follows:
cd /path/to/document/root
chmod 777 photos
261
9/21/09 7:23:49 PM
c09.indd 261
c09.indd 261 9/21/09 7:23:49 PM