
Page 27 - The Pocket Guide to Equine Knots
P. 27
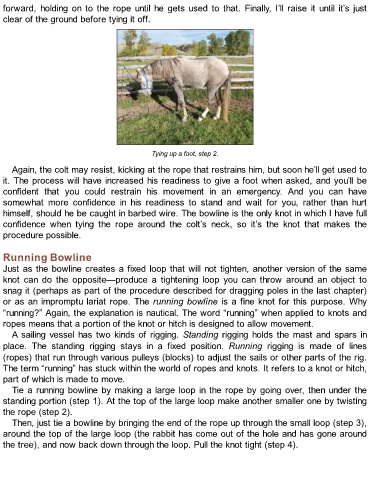
forward, holding  on to  the rope  until he  gets used  to  that. Finally,  I’ll raise  it until  it’s just
  clear of the ground before tying it off.


                                                   Tying up a foot, step 2.

     Again, the colt may resist, kicking at the rope that restrains him, but soon he’ll get used to
  it. The process will have increased his readiness to give a foot when asked, and you’ll be

  confident  that  you  could  restrain  his  movement  in  an  emergency.  And  you  can  have
  somewhat  more  confidence  in  his  readiness  to  stand  and  wait  for  you,  rather  than  hurt
  himself, should he be caught in barbed wire. The bowline is the only knot in which I have full

  confidence  when  tying  the  rope  around  the  colt’s  neck,  so  it’s  the  knot  that  makes  the
  procedure possible.


  Running Bowline

  Just as the bowline creates a fixed loop that will not tighten, another version of the same
  knot  can  do  the  opposite—produce  a  tightening  loop  you  can  throw  around  an  object  to
  snag it (perhaps as part of the procedure described for dragging poles in the last chapter)

  or as an impromptu lariat rope. The running bowline is a fine knot for this purpose. Why
  “running?” Again, the explanation is nautical. The word “running” when applied to knots and
  ropes means that a portion of the knot or hitch is designed to allow movement.
     A sailing vessel has two kinds of rigging. Standing rigging holds the mast and spars in

  place.  The  standing  rigging  stays  in  a  fixed  position.  Running  rigging  is  made  of  lines
  (ropes) that run through various pulleys (blocks) to adjust the sails or other parts of the rig.
  The term “running” has stuck within the world of ropes and knots. It refers to a knot or hitch,

  part of which is made to move.
     Tie a running bowline by making a large loop in the rope by going over, then under the
  standing portion (step 1). At the top of the large loop make another smaller one by twisting
  the rope (step 2).
     Then, just tie a bowline by bringing the end of the rope up through the small loop (step 3),

  around the top of the large loop (the rabbit has come out of the hole and has gone around
  the tree), and now back down through the loop. Pull the knot tight (step 4).