
Page 583 - Kitab3DsMax
P. 583
Chapter 19: Configuring and Aiming Cameras
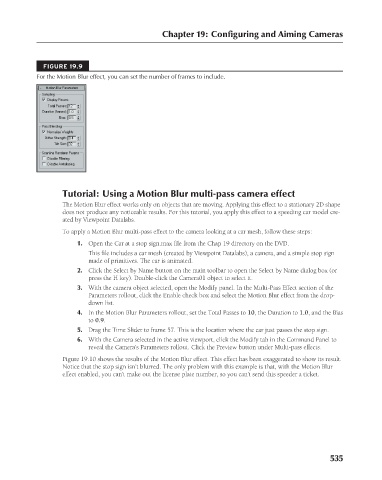
FIGURE 19.9
For the Motion Blur effect, you can set the number of frames to include.
Tutorial: Using a Motion Blur multi-pass camera effect
The Motion Blur effect works only on objects that are moving. Applying this effect to a stationary 2D shape
does not produce any noticeable results. For this tutorial, you apply this effect to a speeding car model cre-
ated by Viewpoint Datalabs.
To apply a Motion Blur multi-pass effect to the camera looking at a car mesh, follow these steps:
1. Open the Car at a stop sign.max file from the Chap 19 directory on the DVD.
This file includes a car mesh (created by Viewpoint Datalabs), a camera, and a simple stop sign
made of primitives. The car is animated.
2. Click the Select by Name button on the main toolbar to open the Select by Name dialog box (or
press the H key). Double-click the Camera01 object to select it.
3. With the camera object selected, open the Modify panel. In the Multi-Pass Effect section of the
Parameters rollout, click the Enable check box and select the Motion Blur effect from the drop-
down list.
4. In the Motion Blur Parameters rollout, set the Total Passes to 10, the Duration to 1.0, and the Bias
to 0.9.
5. Drag the Time Slider to frame 57. This is the location where the car just passes the stop sign.
6. With the Camera selected in the active viewport, click the Modify tab in the Command Panel to
reveal the Camera’s Parameters rollout. Click the Preview button under Multi-pass effects.
Figure 19.10 shows the results of the Motion Blur effect. This effect has been exaggerated to show its result.
Notice that the stop sign isn’t blurred. The only problem with this example is that, with the Motion Blur
effect enabled, you can’t make out the license plate number, so you can’t send this speeder a ticket.
535
6/30/10 4:25 PM
27_617779-ch19.indd 535
27_617779-ch19.indd 535 6/30/10 4:25 PM