
Page 27 - luminar 2018 - user manual pc v 2_3.pages
P. 27
Working with Presets
Presets allow you to make instant changes to your image with one click of a button. Each preset is
made up of all the saved filters as well as the settings used for each of those filters. Presets can also
include Blending Mode and Opacity changes made to a filter or a layer. For each layer or
adjustment layer, a different preset can be applied, which can make for some creative results!
Applying a Preset
In order to save time when developing your image, you’ll find an extensive collection of presets.
Professional photographers from around the world have helped us create a comprehensive group
of presets that give your images amazing enhancements in a single click.
To apply a preset:
1. Make sure an image is open in Luminar.
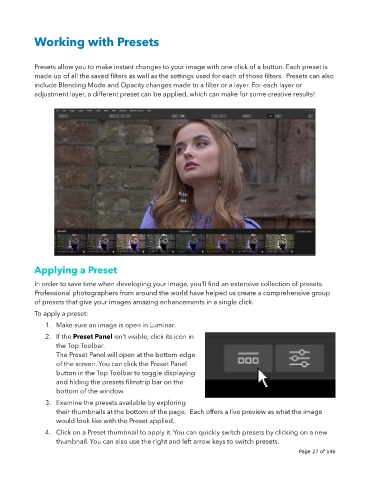
2. If the Preset Panel isn’t visible, click its icon in
the Top Toolbar.
The Preset Panel will open at the bottom edge
of the screen. You can click the Preset Panel
button in the Top Toolbar to toggle displaying
and hiding the presets filmstrip bar on the
bottom of the window.
3. Examine the presets available by exploring
their thumbnails at the bottom of the page. Each offers a live preview as what the image
would look like with the Preset applied.
4. Click on a Preset thumbnail to apply it. You can quickly switch presets by clicking on a new
thumbnail. You can also use the right and left arrow keys to switch presets.
!
!
Page 27 of 146