
Page 28 - luminar 2018 - user manual pc v 2_3.pages
P. 28
5. You can quickly switch presets by
clicking on a new thumbnail. To view all
the presets in a given category, simply
use the arrow keys on your keyboard or
the horizontal scrollbar located at the
bottom of the Luminar 2018 window.
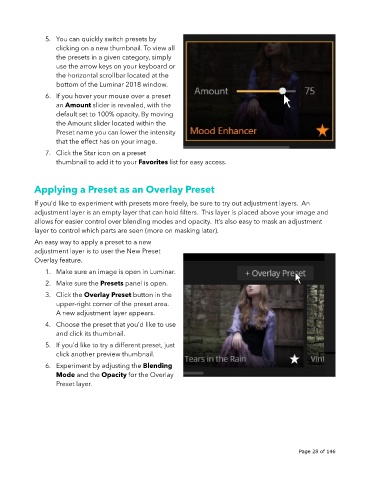
6. If you hover your mouse over a preset
an Amount slider is revealed, with the
default set to 100% opacity. By moving
the Amount slider located within the
Preset name you can lower the intensity
that the effect has on your image.
7. Click the Star icon on a preset
thumbnail to add it to your Favorites list for easy access.
Applying a Preset as an Overlay Preset
If you’d like to experiment with presets more freely, be sure to try out adjustment layers. An
adjustment layer is an empty layer that can hold filters. This layer is placed above your image and
allows for easier control over blending modes and opacity. It’s also easy to mask an adjustment
layer to control which parts are seen (more on masking later).
An easy way to apply a preset to a new
adjustment layer is to user the New Preset
Overlay feature.
1. Make sure an image is open in Luminar.
2. Make sure the Presets panel is open.
3. Click the Overlay Preset button in the
upper-right corner of the preset area.
A new adjustment layer appears.
4. Choose the preset that you’d like to use
and click its thumbnail.
5. If you’d like to try a different preset, just
click another preview thumbnail.
6. Experiment by adjusting the Blending
Mode and the Opacity for the Overlay
Preset layer.
!
!
Page 28 of 146