
Page 5 - Scanning for Time: Science and Art on a Photocopier
P. 5
A Musical Sidebar:
How to tune a guitar with a photocopier!
1. Place guitar upside down on a scanner bed. Don’t let the strings touch the glass.
2. Guitar strings should be strummed once as the photocopier scan bar passes underneath. Strum-
ming an area not on the glass scan bed, like the over-hanging neck, might lead to a clearer image.
a. Strum all strings.
b. Pluck individual strings.
c. Strum a chord.
3. Check out your copy…cool!
4. Measure your waves, just like your rubber band example above.
5. Calculate each string’s frequency using the wave equation.
6. Compare your results from a guitar tuner or audio analysis software.
We need to tune our guitar, but we won’t fret about it! Other things to notice:
• Which string was strummed first?
• Can you see overtones in the strings?
• Are there differences between nylon and metal strings?
Here’s how we did:
Frequency String 1 String 2 String 3 String 4 String 5 String 6
Photocopier result 79 Hz 109 Hz 143 Hz 193 Hz 244 Hz 315 Hz
Audio tuner result 79 Hz 107 Hz 141 Hz 189 Hz 242 Hz 320 Hz
Standard tuning 82.4 Hz 110 Hz 147 Hz 196 Hz 247 Hz 330 Hz
Name of note E A D G B E
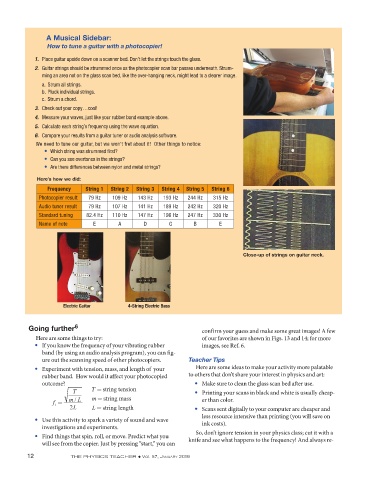
Close-up of strings on guitar neck.
Electric Guitar 4-String Electric Bass
Going further 6 confirm your guess and make some great images! A few
Here are some things to try: of our favorites are shown in Figs. 13 and 14; for more
• If you know the frequency of your vibrating rubber images, see Ref. 6.
band (by using an audio analysis program), you can fig-
ure out the scanning speed of other photocopiers. Teacher Tips
• Experiment with tension, mass, and length of your Here are some ideas to make your activity more palatable
rubber band. How would it affect your photocopied to others that don’t share your interest in physics and art:
outcome? • Make sure to clean the glass scan bed after use.
• Printing your scans in black and white is usually cheap-
er than color.
• Scans sent digitally to your computer are cheaper and
• Use this activity to spark a variety of sound and wave less resource intensive than printing (you will save on
ink costs).
investigations and experiments.
So, don’t ignore tension in your physics class; cut it with a
• Find things that spin, roll, or move. Predict what you knife and see what happens to the frequency! And always re-
will see from the copier. Just by pressing “start,” you can
12 THE PHYSICS TEACHER ◆ Vol. 57, January 2019