
Page 145 - Photoshop for Lightroom Users – Scott Kelby 2nd Edition
P. 145
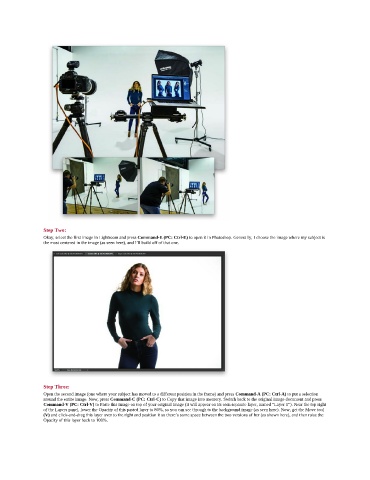
Step Two:
               Okay, select the first image in Lightroom and press Command-E (PC: Ctrl-E) to open it in Photoshop. Generally, I choose the image where my subject is
               the most centered in the image (as seen here), and I’ll build off of that one.


               Step Three:
               Open the second image (one where your subject has moved to a different position in the frame) and press Command-A (PC: Ctrl-A) to put a selection
               around the entire image. Now, press Command-C (PC: Ctrl-C) to Copy that image into memory. Switch back to the original image document and press
               Command-V (PC: Ctrl-V) to Paste this image on top of your original image (it will appear on its own separate layer, named “Layer 1”). Near the top right
               of the Layers panel, lower the Opacity of this pasted layer to 80%, so you can see through to the background image (as seen here). Now, get the Move tool
               (V) and click-and-drag this layer over to the right and position it so there’s some space between the two versions of her (as shown here), and then raise the
               Opacity of this layer back to 100%.