Page 11 - luminar 2018 - user manual pc v 2_3.pages
P. 11
Adjust
            The Adjust tab contains the essential color and tone adjustments that should be made using the
            raw file.  This sets the stage for all the adjustments that come after.

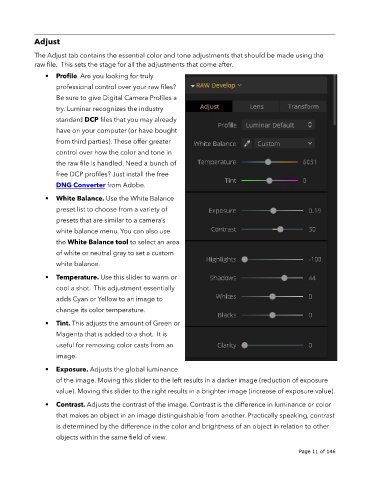
                •   Profile. Are you looking for truly
                    professional control over your raw files?
                    Be sure to give Digital Camera Profiles a

                    try. Luminar recognizes the industry
                    standard DCP files that you may already
                    have on your computer (or have bought
                    from third parties). These offer greater
                    control over how the color and tone in

                    the raw file is handled. Need a bunch of
                    free DCP profiles? Just install the free
                    DNG Converter from Adobe.

                •   White Balance. Use the White Balance
                    preset list to choose from a variety of
                    presets that are similar to a camera’s

                    white balance menu. You can also use
                    the White Balance tool to select an area
                    of white or neutral gray to set a custom

                    white balance.
                •   Temperature. Use this slider to warm or
                    cool a shot.  This adjustment essentially

                    adds Cyan or Yellow to an image to
                    change its color temperature.

                •   Tint. This adjusts the amount of Green or
                    Magenta that is added to a shot.  It is
                    useful for removing color casts from an
                    image.

                •   Exposure. Adjusts the global luminance

                    of the image. Moving this slider to the left results in a darker image (reduction of exposure
                    value). Moving this slider to the right results in a brighter image (increase of exposure value).
                •   Contrast. Adjusts the contrast of the image. Contrast is the difference in luminance or color

                    that makes an object in an image distinguishable from another. Practically speaking, contrast
                    is determined by the difference in the color and brightness of an object in relation to other
                    objects within the same field of view.

                                                                                                             !
                                                                                                        !
                                                                                                    Page 11  of 146

