
Page 93 - manual_V5_11_9_2018_Html5
P. 93
7.2.1 Publishing Models
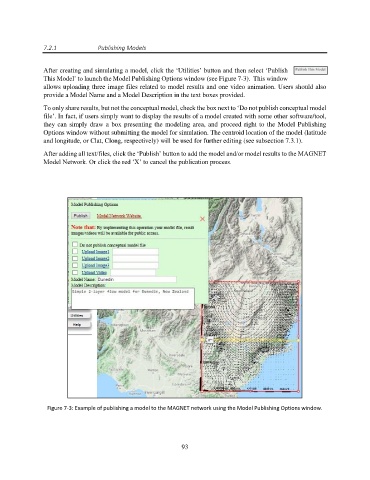
After creating and simulating a model, click the ‘Utilities’ button and then select ‘Publish
This Model’ to launch the Model Publishing Options window (see Figure 7-3). This window
allows uploading three image files related to model results and one video animation. Users should also
provide a Model Name and a Model Description in the text boxes provided.
To only share results, but not the conceptual model, check the box next to ‘Do not publish conceptual model
file’. In fact, if users simply want to display the results of a model created with some other software/tool,
they can simply draw a box presenting the modeling area, and proceed right to the Model Publishing
Options window without submitting the model for simulation. The centroid location of the model (latitude
and longitude, or Clat, Clong, respectively) will be used for further editing (see subsection 7.3.1).
After adding all text/files, click the ‘Publish’ button to add the model and/or model results to the MAGNET
Model Network. Or click the red ‘X’ to cancel the publication process.
Figure 7-3: Example of publishing a model to the MAGNET network using the Model Publishing Options window.
93