
Page 12 - Demo
P. 12
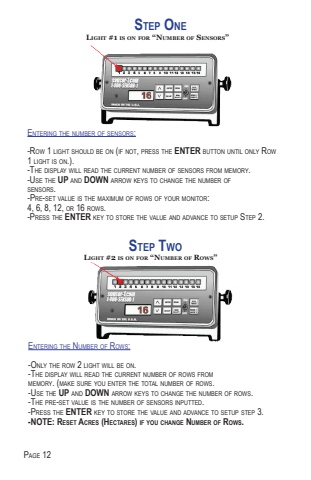
Step TwoStep OneLight #1 is on for %u201cNumber of Sensors%u201dEntering the number of sensors:-Row 1 light should be on (if not, press the ENTER button until only Row1 light is on.). -The display will read the current number of sensors from memory. -Use the UP and DOWN arrow keys to change the number ofsensors. -Pre-set value is the maximum of rows of your monitor:4, 6, 8, 12, or 16 rows. -Press the ENTER key to store the value and advance to setup Step 2.(Setup 2 Function)Light #2 is on for %u201cNumber of Rows%u201dPage 12Entering the Number of Rows:-Only the row 2 light will be on. -The display will read the current number of rows frommemory. (make sure you enter the total number of rows. -Use the UP and DOWN arrow keys to change the number of rows. -The pre-set value is the number of sensors inputted. -Press the ENTER key to store the value and advance to setup step 3. -NOTE: Reset Acres (Hectares) if you change Number of Rows.
