
Page 17 - Demo
P. 17
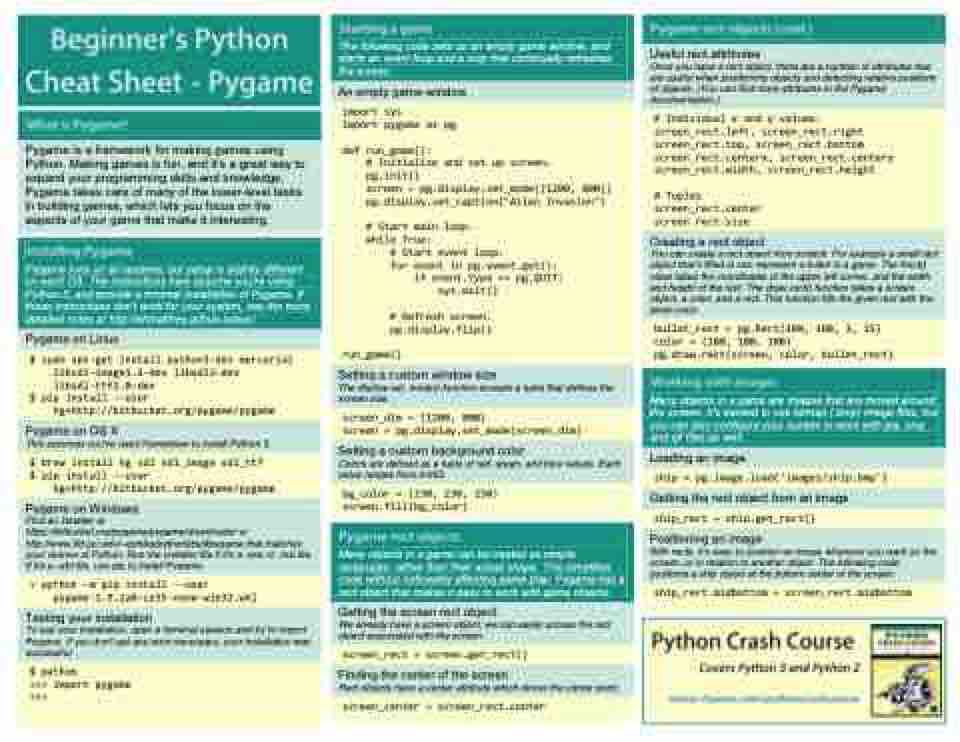
                          Pygame is a framework for making games using Python. Making games is fun, and it’s a great way to expand your programming skills and knowledge. Pygame takes care of many of the lower-level tasks in building games, which lets you focus on the aspects of your game that make it interesting.
       Pygame runs on all systems, but setup is slightly different on each OS. The instructions here assume you’re using Python 3, and provide a minimal installation of Pygame. If these instructions don’t work for your system, see the more detailed notes at http://ehmatthes.github.io/pcc/.
   Pygame on Linux
    $ sudo apt-get install python3-dev mercurial
    libsdl-image1.2-dev libsdl2-dev
    libsdl-ttf2.0-dev
$ pip install --user
    hg+http://bitbucket.org/pygame/pygame
     Pygame on OS X
This assumes you’ve used Homebrew to install Python 3.
     $ brew install hg sdl sdl_image sdl_ttf
$ pip install --user
    hg+http://bitbucket.org/pygame/pygame
   Pygame on Windows
Find an installer at https://bitbucket.org/pygame/pygame/downloads/ or http://www.lfd.uci.edu/~gohlke/pythonlibs/#pygame that matches your version of Python. Run the installer file if it’s a .exe or .msi file.
 If it’s a .whl file, use pip to install Pygame:
     > python –m pip install --user
    pygame-1.9.2a0-cp35-none-win32.whl
     Testing your installation
To test your installation, open a terminal session and try to import Pygame. If you don’t get any error messages, your installation was successful.
     $ python
>>> import pygame
>>>
       The following code sets up an empty game window, and starts an event loop and a loop that continually refreshes the screen.
    An empty game window
    import sys
import pygame as pg
def run_game():
    # Initialize and set up screen.
    pg.init()
    screen = pg.display.set_mode((1200, 800))
    pg.display.set_caption("Alien Invasion")
    # Start main loop.
 bg_color = (230, 230, 230)
screen.fill(bg_color)
              while True:
        # Start event loop.
        for event in pg.event.get():
            if event.type == pg.QUIT:
                sys.exit()
        # Refresh screen.
        pg.display.flip()
run_game()
             Useful rect attributes
Once you have a rect object, there are a number of attributes that are useful when positioning objects and detecting relative positions of objects. (You can find more attributes in the Pygame documentation.)
     # Individual x and y values:
screen_rect.left, screen_rect.right
screen_rect.top, screen_rect.bottom
screen_rect.centerx, screen_rect.centery
screen_rect.width, screen_rect.height
# Tuples
screen_rect.center
screen_rect.size
     Creating a rect object
You can create a rect object from scratch. For example a small rect object that’s filled in can represent a bullet in a game. The Rect() class takes the coordinates of the upper left corner, and the width and height of the rect. The draw.rect() function takes a screen object, a color, and a rect. This function fills the given rect with the given color.
     bullet_rect = pg.Rect(100, 100, 3, 15)
color = (100, 100, 100)
pg.draw.rect(screen, color, bullet_rect)
      Many objects in a game are images that are moved around the screen. It’s easiest to use bitmap (.bmp) image files, but you can also configure your system to work with jpg, png, and gif files as well.
     Loading an image
     ship = pg.image.load('images/ship.bmp')
     Getting the rect object from an image
  ship_rect = ship.get_rect()
  Positioning an image
 With rects, it’s easy to position an image wherever you want on the
 screen, or in relation to another object. The following code positions a ship object at the bottom center of the screen.
    ship_rect.midbottom = screen_rect.midbottom
     Covers Python 3 and Python 2
   Setting a custom window size
The display.set_mode() function accepts a tuple that defines the screen size.
     screen_dim = (1200, 800)
screen = pg.display.set_mode(screen_dim)
      Setting a custom background color
Colors are defined as a tuple of red, green, and blue values. Each value ranges from 0-255.
                 Many objects in a game can be treated as simple
 rectangles, rather than their actual shape. This simplifies code without noticeably affecting game play. Pygame has a rect object that makes it easy to work with game objects.
      Getting the screen rect object
We already have a screen object; we can easily access the rect object associated with the screen.
     screen_rect = screen.get_rect()
     Finding the center of the screen
Rect objects have a center attribute which stores the center point.
     screen_center = screen_rect.center
