
Page 963 - Chief Architect Reference Manual
P. 963
Editing Custom Symbols
to convert to a single symbol are the • Choose a Symbol Category from the
only things displaying. drop-down list.
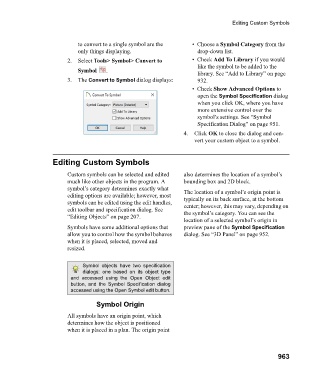
2. Select Tools> Symbol> Convert to • Check Add To Library if you would
like the symbol to be added to the
Symbol .
library. See “Add to Library” on page
3. The Convert to Symbol dialog displays: 932.
• Check Show Advanced Options to
open the Symbol Specification dialog
when you click OK, where you have
more extensive control over the
symbol’s settings. See “Symbol
Specification Dialog” on page 951.
4. Click OK to close the dialog and con-
vert your custom object to a symbol.
Editing Custom Symbols
Custom symbols can be selected and edited also determines the location of a symbol’s
much like other objects in the program. A bounding box and 2D block.
symbol’s category determines exactly what The location of a symbol’s origin point is
editing options are available; however, most typically on its back surface, at the bottom
symbols can be edited using the edit handles, center; however, this may vary, depending on
edit toolbar and specification dialog. See the symbol’s category. You can see the
“Editing Objects” on page 207.
location of a selected symbol’s origin in
Symbols have some additional options that preview pane of the Symbol Specification
allow you to control how the symbol behaves dialog. See “3D Panel” on page 952.
when it is placed, selected, moved and
resized.
Symbol objects have two specification
dialogs: one based on its object type
and accessed using the Open Object edit
button, and the Symbol Specification dialog
accessed using the Open Symbol edit button.
Symbol Origin
All symbols have an origin point, which
determines how the object is positioned
when it is placed in a plan. The origin point
963