
Page 539 - Divyank Tyagi
P. 539
|
Creating siMPle Curtain Walls 505
Designing a Curtain Wall
Let’s go through a quick exercise to become familiar with the creation of a simple curtain wall.
To create a curtain wall, you can either model a standard wall and change its type to Curtain
Wall or select a curtain wall type from the Type Selector when the Wall tool is active. Here are
the steps:
1. From the Architecture tab in the ribbon, select the Wall tool. From the Type Selector (in
the Properties palette) select Curtain Wall 1.
2. In the Level 1 floor plan, draw a single curtain wall. Go to a 3D view to see the result.
The basic curtain wall definition has no predefined grids or mullions. The wall segment
you see is just one big system panel that you will need to divide. If you create a curved
segment for a curtain wall, the panels are always straight segments. Thus, if you draw
a curved segment in the plan with the Curtain Wall 1 family, there will be only one
straight panel segment between the endpoints of the curve until you start to divide it up
with curtain grids. Revit doesn’t allow for curved glazing outside of a custom family.
3. Divide the wall into panels using the Curtain Grid tool from the Architecture tab.
Position your mouse pointer over the edges of the wall to get a preview of where the grid
will be placed (select a vertical edge to place a horizontal grid or select a horizontal edge
to place a vertical grid).
There are some snapping options when you are placing curtain grids that will help you
divide the panels and subsequent divisions at midpoints and thirds. Watch the status bar
for snapping prompts because there are no graphic indicators of the snapped positions
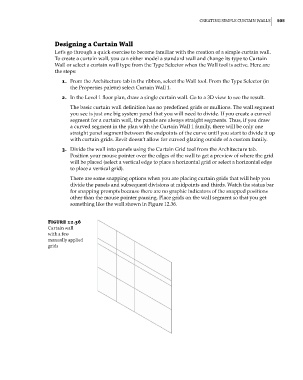
other than the mouse pointer pausing. Place grids on the wall segment so that you get
something like the wall shown in Figure 12.36.
Figure 12.36
Curtain wall
with a few
manually applied
grids
c12.indd 505 5/3/2014 11:13:02 AM