
Page 554 - Divyank Tyagi
P. 554
520 | ChaPTER 12 Creating Walls and Curtain Walls
1. Start by opening the file c12-Square-Panel-Intersects.rfa from this book’s
companion website.
Notice that a series of reference lines are now drawn in the X plane; you will use these
reference lines to divide the surface of the form.
2. Select the surface and choose Divide Surface from the ribbon. Click the U Grid tool on the
ribbon to disable the display of the U grids.
3. With the surface still selected, click the Intersects button on the ribbon. Select all the
reference planes in the X plane, and then click the Finish icon in the Intersects panel on
the ribbon.
This will divide the surface based on where the reference planes intersect the surface of
the form. You could also choose Intersects ➢ Intersects List to choose named references
such as levels or named reference planes instead of picking them in the model view.
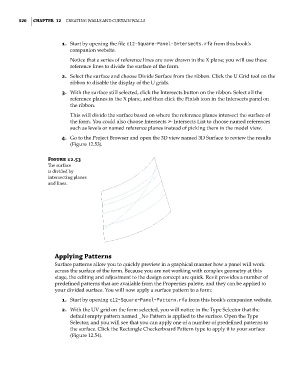
4. Go to the Project Browser and open the 3D view named 3D Surface to review the results
(Figure 12.53).
Figure 12.53
The surface
is divided by
intersecting planes
and lines.
applying Patterns
Surface patterns allow you to quickly preview in a graphical manner how a panel will work
across the surface of the form. Because you are not working with complex geometry at this
stage, the editing and adjustment to the design concept are quick. Revit provides a number of
predefined patterns that are available from the Properties palette, and they can be applied to
your divided surface. You will now apply a surface pattern to a form:
1. Start by opening c12-Square-Panel-Pattern.rfa from this book’s companion website.
2. With the UV grid on the form selected, you will notice in the Type Selector that the
default empty pattern named _No Pattern is applied to the surface. Open the Type
Selector, and you will see that you can apply one of a number of predefined patterns to
the surface. Click the Rectangle Checkerboard Pattern type to apply it to your surface
(Figure 12.54).
c12.indd 520 5/3/2014 11:13:23 AM