
Page 760 - Divyank Tyagi
P. 760
726 | ChaPteR 17 Documenting Your Design
3. Select the OFFICES area (not the tag), and in the Properties palette, change the Area Type
property to Office Area. Select the SERVICES area and change its Area Type property to
Store Area.
Notice that some of the area boundaries change to different wall faces as the Area Type
property is modified. This behavior is based on the BOMA area measurement standards
and is dependent on either allowing Revit to automatically assign area boundaries or
using the Apply Area Rules option when you are placing the boundaries yourself.
Rooms are not visible in the area plans, based on the settings in the view templates we
provided in the sample project. If you do not turn off the visibility of rooms in area plans,
you may mistakenly select a room object instead of an area. Always be sure to check the
Type Selector to verify that you have selected an area or a room.
Deleting areas
as you complete this exercise, you may accidentally place an area outside the boundaries of the
design, or you may place two areas within the same space. First, realize that you must delete the
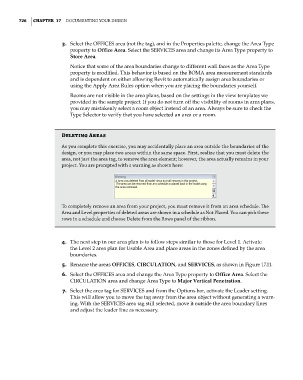
area, not just the area tag, to remove the area element; however, the area actually remains in your
project. You are prompted with a warning as shown here:
to completely remove an area from your project, you must remove it from an area schedule. The
area and level properties of deleted areas are shown in a schedule as not Placed. You can pick these
rows in a schedule and choose Delete from the rows panel of the ribbon.
4. The next step in our area plan is to follow steps similar to those for Level 1. Activate
the Level 2 area plan for Usable Area and place areas in the zones defined by the area
boundaries.
5. Rename the areas OFFICES, CIRCULATION, and SERVICES, as shown in Figure 17.11.
6. Select the OFFICES area and change the Area Type property to Office Area. Select the
CIRCULATION area and change Area Type to Major Vertical Penetration.
7. Select the area tag for SERVICES and from the Options bar, activate the Leader setting.
This will allow you to move the tag away from the area object without generating a warn-
ing. With the SERVICES area tag still selected, move it outside the area boundary lines
and adjust the leader line as necessary.
c17.indd 726 5/3/2014 11:46:23 AM