
Page 893 - Divyank Tyagi
P. 893
|
using the sCan in a ProjeCt 859
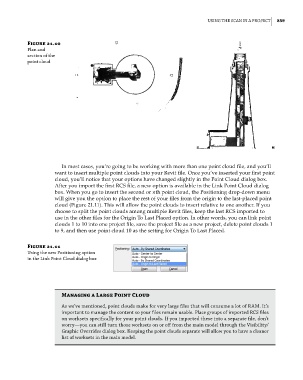
Figure 21.10
Plan and
section of the
point cloud
In most cases, you’re going to be working with more than one point cloud file, and you’ll
want to insert multiple point clouds into your Revit file. Once you’ve inserted your first point
cloud, you’ll notice that your options have changed slightly in the Point Cloud dialog box.
After you import the first RCS file, a new option is available in the Link Point Cloud dialog
box. When you go to insert the second or nth point cloud, the Positioning drop-down menu
will give you the option to place the rest of your files from the origin to the last-placed point
cloud (Figure 21.11). This will allow the point clouds to insert relative to one another. If you
choose to split the point clouds among multiple Revit files, keep the last RCS imported to
use in the other files for the Origin To Last Placed option. In other words, you can link point
clouds 1 to 10 into one project file, save the project file as a new project, delete point clouds 1
to 9, and then use point cloud 10 as the setting for Origin To Last Placed.
Figure 21.11
using the new Positioning option
in the link Point Cloud dialog box
Managing a Large Point Cloud
as we’ve mentioned, point clouds make for very large files that will consume a lot of raM. it’s
important to manage the content so your files remain usable. Place groups of imported rCs files
on worksets specifically for your point clouds. if you imported these into a separate file, don’t
worry—you can still turn those worksets on or off from the main model through the visibility/
graphic overrides dialog box. keeping the point clouds separate will allow you to have a cleaner
list of worksets in the main model.
c21.indd 859 5/3/2014 12:05:46 PM