
Page 185 - SKU-000506274_TEXT.indd
P. 185
164 P a r t I I I Managing Your YouTube Videos
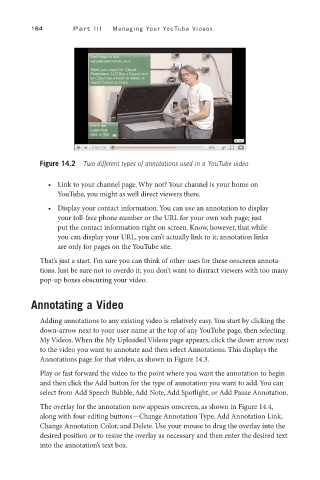
Figure 14.2 Two different types of annotations used in a YouTube video.
• Link to your channel page. Why not? Your channel is your home on
YouTube, you might as well direct viewers there.
• Display your contact information. You can use an annotation to display
your toll-free phone number or the URL for your own web page; just
put the contact information right on screen. Know, however, that while
you can display your URL, you can’t actually link to it; annotation links
are only for pages on the YouTube site.
That’s just a start. I’m sure you can think of other uses for these onscreen annota-
tions. Just be sure not to overdo it; you don’t want to distract viewers with too many
pop-up boxes obscuring your video.
Annotating a Video
Adding annotations to any existing video is relatively easy. You start by clicking the
down-arrow next to your user name at the top of any YouTube page, then selecting
My Videos. When the My Uploaded Videos page appears, click the down arrow next
to the video you want to annotate and then select Annotations. This displays the
Annotations page for that video, as shown in Figure 14.3.
Play or fast forward the video to the point where you want the annotation to begin
and then click the Add button for the type of annotation you want to add. You can
select from Add Speech Bubble, Add Note, Add Spotlight, or Add Pause Annotation.
The overlay for the annotation now appears onscreen, as shown in Figure 14.4,
along with four editing buttons—Change Annotation Type, Add Annotation Link,
Change Annotation Color, and Delete. Use your mouse to drag the overlay into the
desired position or to resize the overlay as necessary and then enter the desired text
into the annotation’s text box.