Page 160 - Photoshop for Lightroom Users – Scott Kelby 2nd Edition
P. 160
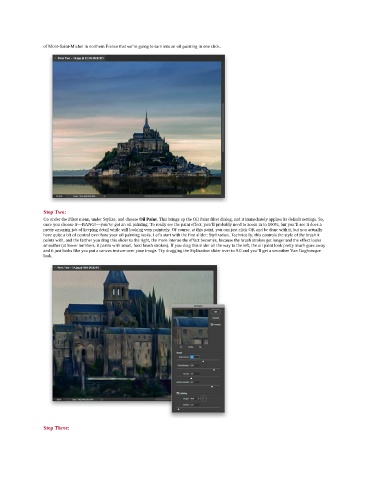
of Mont-Saint-Michel in northern France that we’re going to turn into an oil painting in one click.


               Step Two:
               Go under the Filter menu, under Stylize, and choose Oil Paint. This brings up the Oil Paint filter dialog, and it immediately applies its default settings. So,
               once you choose it—BANG!—you’ve got an oil painting. To really see the paint effect, you’ll probably need to zoom in to 100%, but you’ll see it does a
               pretty amazing job of keeping detail while still looking very painterly. Of course, at this point, you can just click OK and be done with it, but you actually
               have quite a bit of control over how your oil painting looks. Let’s start with the first slider: Stylization. Technically, this controls the style of the brush it
               paints with, and the farther you drag this slider to the right, the more intense the effect becomes, because the brush strokes get longer and the effect looks
               smoother (at lower numbers, it paints with small, hard brush strokes). If you drag this slider all the way to the left, the oil paint look pretty much goes away
               and it just looks like you put a canvas texture over your image. Try dragging the Stylization slider over to 9.0 and you’ll get a smoother Van Gogh-esque
               look.


               Step Three:

