
Page 243 - filmora-11-user-guide-for-windows
P. 243
Performance Improvement 243
rendered section you'll notice the line turning red to indicate you need to render
again.
22.6 Manage Timeline
The timeline is where the majority of the video editing process takes place. So, in
this guide, we are going to learn how to add, adjust, lock and hide video and audio
tracks in Filmora timeline panel.
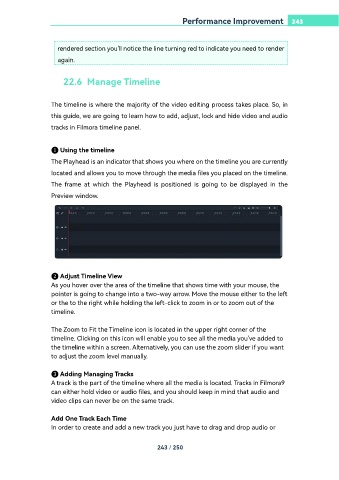
❶ Using the timeline
The Playhead is an indicator that shows you where on the timeline you are currently
located and allows you to move through the media files you placed on the timeline.
The frame at which the Playhead is positioned is going to be displayed in the
Preview window.
❷ Adjust Timeline View
As you hover over the area of the timeline that shows time with your mouse, the
pointer is going to change into a two-way arrow. Move the mouse either to the left
or the to the right while holding the left-click to zoom in or to zoom out of the
timeline.
The Zoom to Fit the Timeline icon is located in the upper right corner of the
timeline. Clicking on this icon will enable you to see all the media you've added to
the timeline within a screen. Alternatively, you can use the zoom slider if you want
to adjust the zoom level manually.
❸ Adding Managing Tracks
A track is the part of the timeline where all the media is located. Tracks in Filmora9
can either hold video or audio files, and you should keep in mind that audio and
video clips can never be on the same track.
Add One Track Each Time
In order to create and add a new track you just have to drag and drop audio or
243 / 250