
Page 1164 - Kitab3DsMax
P. 1164
Part XI: Advanced Lighting and Rendering
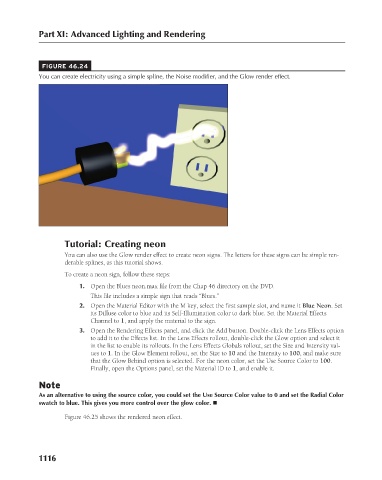
FIGURE 46.24
You can create electricity using a simple spline, the Noise modifier, and the Glow render effect.
Tutorial: Creating neon
You can also use the Glow render effect to create neon signs. The letters for these signs can be simple ren-
derable splines, as this tutorial shows.
To create a neon sign, follow these steps:
1. Open the Blues neon.max file from the Chap 46 directory on the DVD.
This file includes a simple sign that reads “Blues.”
2. Open the Material Editor with the M key, select the first sample slot, and name it Blue Neon. Set
its Diffuse color to blue and its Self-Illumination color to dark blue. Set the Material Effects
Channel to 1, and apply the material to the sign.
3. Open the Rendering Effects panel, and click the Add button. Double-click the Lens Effects option
to add it to the Effects list. In the Lens Effects rollout, double-click the Glow option and select it
in the list to enable its rollouts. In the Lens Effects Globals rollout, set the Size and Intensity val-
ues to 1. In the Glow Element rollout, set the Size to 10 and the Intensity to 100, and make sure
that the Glow Behind option is selected. For the neon color, set the Use Source Color to 100.
Finally, open the Options panel, set the Material ID to 1, and enable it.
Note
As an alternative to using the source color, you could set the Use Source Color value to 0 and set the Radial Color
swatch to blue. This gives you more control over the glow color. n
Figure 46.25 shows the rendered neon effect.
1116