
Page 291 - Kitab3DsMax
P. 291
Chapter 8: Cloning Objects and Creating Object Arrays
The Type of Object section lets you define whether the new objects are copies, instances, or references, but
unlike the other cloning tools, the Array tool defaults to Instance. If you plan on modeling all the objects in
a similar manner, then you will want to select the Instance or Reference options.
In the Array Dimensions section, you can specify the number of objects to copy along three different
dimensions. You can also define incremental offsets for each individual row.
Caution
You can use the Array dialog box to create a large number of objects. If your array of objects is too large, your
system may crash. n
Tutorial: Building a white picket fence
To start with a simple example, you’ll create a white picket fence. Because a fence repeats, you need only to
create a single slat; then you’ll use the Array command to duplicate it consistently.
To create a picket fence, follow these steps:
1. Open the White picket fence.max file from the Chap 08 directory on the DVD.
2. With the single fence board selected, choose Tools ➪ Array or click on the Array button on the
Extras toolbar to open the Array dialog box.
3. In the Array dialog box, click the Reset All Parameters button to start with a clean slate. Then
enter a value of 50 in the X column’s Move row under the Incremental section. (This is the incre-
mental value for spacing each successive picket.) Next, enter 20 in the Array Dimensions section
next to the 1D radio button. (This is the number of objects to include in the array.) Click OK to
create the objects.
Tip
The Preview button lets you see the resulting array before it is created. Don’t worry if you don’t get the values right
the first time. The most recent values you entered into the Array dialog box stay around until you exit Max. n
4. Click the Zoom Extents All button (or press Shift+Ctrl+Z) in the lower-right corner of the Max
window to see the entire fence in the viewports.
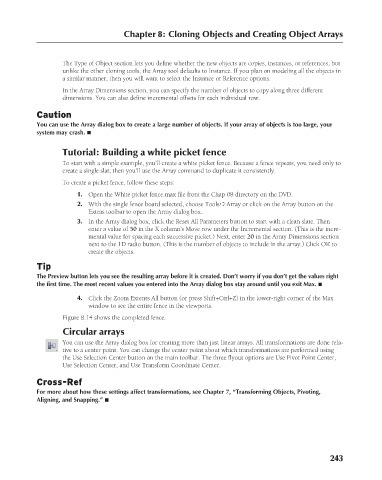
Figure 8.14 shows the completed fence.
Circular arrays
You can use the Array dialog box for creating more than just linear arrays. All transformations are done rela-
tive to a center point. You can change the center point about which transformations are performed using
the Use Selection Center button on the main toolbar. The three flyout options are Use Pivot Point Center,
Use Selection Center, and Use Transform Coordinate Center.
Cross-Ref
For more about how these settings affect transformations, see Chapter 7, “Transforming Objects, Pivoting,
Aligning, and Snapping.” n
243
6/30/10 4:15 PM
14_617779-ch08.indd 243
14_617779-ch08.indd 243 6/30/10 4:15 PM