
Page 596 - Kitab3DsMax
P. 596
Part IV: Materials, Cameras, and Lighting Basics
Tutorial: Lighting a lamp
To practice using lights, you’ll try to get a lamp model to work as it should.
To add a light to a lamp model, follow these steps:
1. Open the Lamp.max file from the Chap 20 directory on the DVD.
This file includes a lamp mesh surrounded by some plane objects used to create the walls and
floor. The lamp model was created by Zygote Media. It looks like a standard living room lamp
that you could buy in any department store.
2. Select the Create ➪ Lights ➪ Standard Lights ➪ Omni menu command, and click in any viewport.
3. Use the Select and Move transform button (W) to position the light object inside the lamp’s light
bulb.
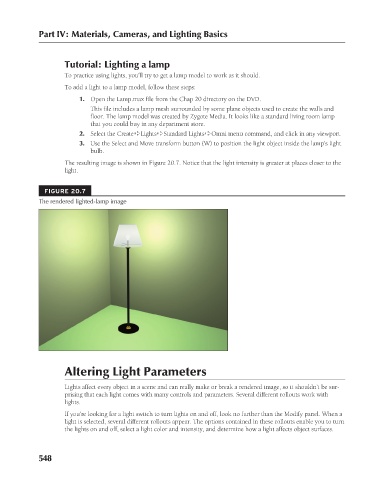
The resulting image is shown in Figure 20.7. Notice that the light intensity is greater at places closer to the
light.
FIGURE 20.7
The rendered lighted-lamp image
Altering Light Parameters
Lights affect every object in a scene and can really make or break a rendered image, so it shouldn’t be sur-
prising that each light comes with many controls and parameters. Several different rollouts work with
lights.
If you’re looking for a light switch to turn lights on and off, look no further than the Modify panel. When a
light is selected, several different rollouts appear. The options contained in these rollouts enable you to turn
the lights on and off, select a light color and intensity, and determine how a light affects object surfaces.
548
6/30/10 4:26 PM
28_617779-ch20.indd 548 6/30/10 4:26 PM
28_617779-ch20.indd 548