
Page 136 - luminar 2018 - user manual pc v 2_3.pages
P. 136
Exporting Images
You may need to export multiple files for other tasks. Maybe its to post online, to drop into a
presentation, or to collaborate with others. When you export a file, you can save in a variety of file
formats including JPG, TIFF, and PNG.
Saving an Image File
You can also save image files from your Luminar project. These files are broadly compatible with
many other applications. To create a new graphic file.
1. It is first suggested that you save a native Luminar project first using the File > Save
command.
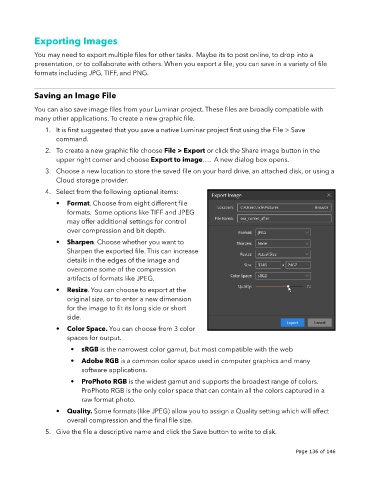
2. To create a new graphic file choose File > Export or click the Share image button in the
upper right corner and choose Export to image…. A new dialog box opens.
3. Choose a new location to store the saved file on your hard drive, an attached disk, or using a
Cloud storage provider.
4. Select from the following optional items:
• Format. Choose from eight different file
formats. Some options like TIFF and JPEG
may offer additional settings for control
over compression and bit depth.
• Sharpen. Choose whether you want to
Sharpen the exported file. This can increase
details in the edges of the image and
overcome some of the compression
artifacts of formats like JPEG.
• Resize. You can choose to export at the
original size, or to enter a new dimension
for the image to fit its long side or short
side.
• Color Space. You can choose from 3 color
spaces for output.
• sRGB is the narrowest color gamut, but most compatible with the web
• Adobe RGB is a common color space used in computer graphics and many
software applications.
• ProPhoto RGB is the widest gamut and supports the broadest range of colors.
ProPhoto RGB is the only color space that can contain all the colors captured in a
raw format photo.
• Quality. Some formats (like JPEG) allow you to assign a Quality setting which will affect
overall compression and the final file size.
5. Give the file a descriptive name and click the Save button to write to disk.
!
!
Page 136 of 146