
Page 86 - Tech handbook 2019 rev 6 whyperlinks
P. 86
If any issues or concerns exist Dynamics should be updated for tracking and APMC contacted for further
inspection.
Once a brick is deemed reusable the cleaning can continue.
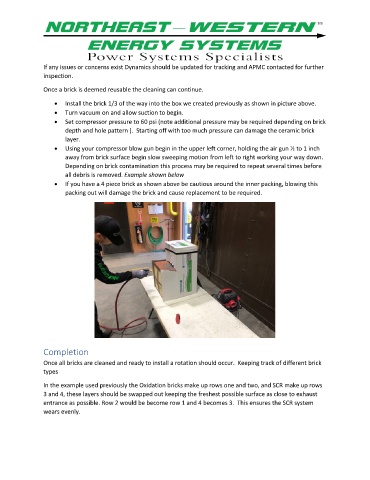
• Install the brick 1/3 of the way into the box we created previously as shown in picture above.
• Turn vacuum on and allow suction to begin.
• Set compressor pressure to 60 psi (note additional pressure may be required depending on brick
depth and hole pattern ). Starting off with too much pressure can damage the ceramic brick
layer.
• Using your compressor blow gun begin in the upper left corner, holding the air gun ½ to 1 inch
away from brick surface begin slow sweeping motion from left to right working your way down.
Depending on brick contamination this process may be required to repeat several times before
all debris is removed. Example shown below
• If you have a 4 piece brick as shown above be cautious around the inner packing, blowing this
packing out will damage the brick and cause replacement to be required.
Completion
Once all bricks are cleaned and ready to install a rotation should occur. Keeping track of different brick
types
In the example used previously the Oxidation bricks make up rows one and two, and SCR make up rows
3 and 4, these layers should be swapped out keeping the freshest possible surface as close to exhaust
entrance as possible. Row 2 would be become row 1 and 4 becomes 3. This ensures the SCR system
wears evenly.