
Page 51 - Act! Marketing Automation User Guide
P. 51
Act! Marketing Automation Training Guide Landing Pages
Once these fields have been completed, click Go to add this action. you will see the action
listed now.
You can add as many actions as you would like to this list. To do so, simply click the
Actions menu in the top right corner and choose Add Action.
Once you are happy with the additional actions, click the Actions menu and choose Save
& Return.
Working with your Landing Page
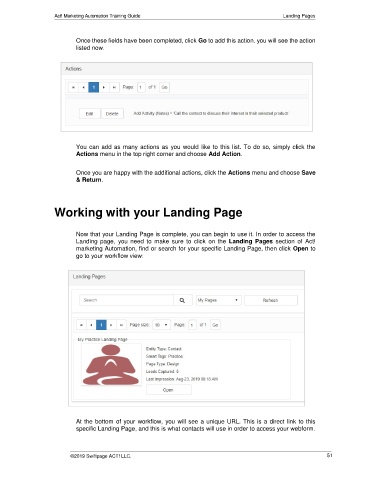
Now that your Landing Page is complete, you can begin to use it. In order to access the
Landing page, you need to make sure to click on the Landing Pages section of Act!
marketing Automation, find or search for your specific Landing Page, then click Open to
go to your workflow view:
At the bottom of your workflow, you will see a unique URL. This is a direct link to this
specific Landing Page, and this is what contacts will use in order to access your webform.
©2019 Swiftpage ACT! LLC. 51