
Page 11 - Administrator Help Manual
P. 11
Help Manual
______________________________________________________________________________
Managing Line Items
Managers can categorise payments and timesheet entries by Line Items on Self Manager to help them
comply with NDIS reporting requirements. A Line Item translates to the Support Category in the
Manager’s NDIS plan (ex. the Core Supports budget may include Consumables, Daily Activities and Social
& Community Participation as support categories).
Note: Line Items are not linked to the Cost Centres in any way; Cost Centres allow you to categorise
payments for financial reporting, like wages, superannuation, administration costs, etc., whereas Line
Items are a way of categorising expenditure in accordance with the NDIS price guide. For instance, all of
the wages and superannuation Cost Centre payments may come under one Line Item such as Daily
Activities.
Adding Line Items
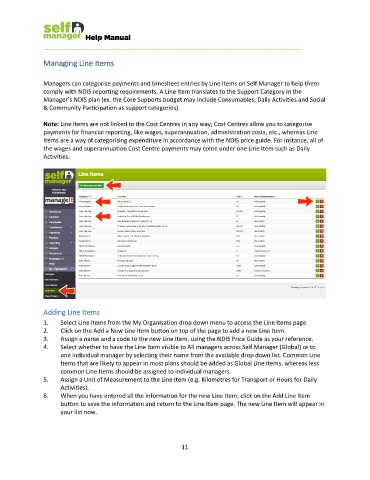
1. Select Line Items from the My Organisation drop down menu to access the Line Items page.
2. Click on the Add a New Line Item button on top of the page to add a new Line Item.
3. Assign a name and a code to the new Line Item, using the NDIS Price Guide as your reference.
4. Select whether to have the Line Item visible to All managers across Self Manager (Global) or to
one individual manager by selecting their name from the available drop down list. Common Line
Items that are likely to appear in most plans should be added as Global Line Items, whereas less
common Line Items should be assigned to individual managers.
5. Assign a Unit of Measurement to the Line Item (e.g. Kilometres for Transport or Hours for Daily
Activities).
6. When you have entered all the information for the new Line Item, click on the Add Line Item
button to save the information and return to the Line Item page. The new Line Item will appear in
your list now.
11