
Page 517 - PowerPoint Presentation
P. 517
CAVITE STATE UNIVERSITY
T3 CAMPUS
Department of Information Technology ITEC 90 – Network Fundamentals
video, you need to document the specifications/status of the components before putting back
the system unit together again.
A helpful tip is since you worked your way part by part in disassembly, now you are
just going to retrace your steps in assembling it.
Preparing for Assembly
Before going into the assembly proper, you will have to prepare all the materials that
you need.
Make sure to:
Clean the equipment and parts
Don’t let the CPU stay exposed for a long time
Prepare a re-apply thermal paste
Wear your anti-static wrist strap
Video Assembly Proper
https://www.youtube.com/watch?v=VnSMN398R_s#action=share
Performance Checklist
If you have tried assembling a computer on your own, this checklist might be able to
help you if you’ve done the job correctly.
Check the following if you’ve met the criteria:
CRITERIA Yes No
Did you ….?
1. Clean the equipment and parts before assembly?
2. Wear anti-static wrist strap and other PPE?
3. Install the following correctly and carefully?
a. CPU Fan
b. Hard Disk Drive
c. Optical Drive
d. RAM (Random Access Memory)
e. Power Supply
f. Interface Cards/Add-on Cards/Adapters Graphics/Video Cards
g. System Fan
4. Attach the System Cover properly?
III. Installing I/O Devices
If you still do not have an installed operating system, you can simply install the keyboard
and mouse first. Then, install an operating system. After installing an operating system, install
the rest of your peripherals.
These devices are important since it lets you control your computer.
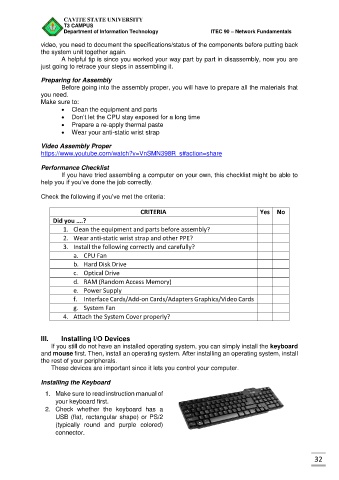
Installing the Keyboard
1. Make sure to read instruction manual of
your keyboard first.
2. Check whether the keyboard has a
USB (flat, rectangular shape) or PS/2
(typically round and purple colored)
connector.
32