
Page 518 - PowerPoint Presentation
P. 518
CAVITE STATE UNIVERSITY
T3 CAMPUS
Department of Information Technology ITEC 90 – Network Fundamentals
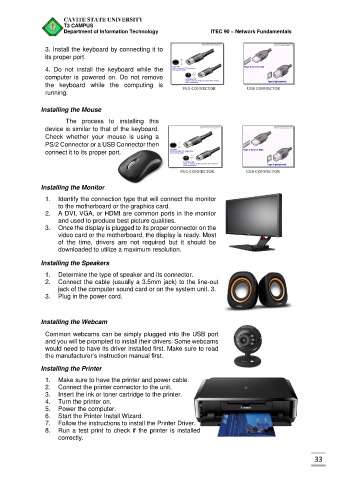
3. Install the keyboard by connecting it to
its proper port.
4. Do not install the keyboard while the
computer is powered on. Do not remove
the keyboard while the computing is
running.
Installing the Mouse
The process to installing this
device is similar to that of the keyboard.
Check whether your mouse is using a
PS/2 Connector or a USB Connector then
connect it to its proper port.
Installing the Monitor
1. Identify the connection type that will connect the monitor
to the motherboard or the graphics card.
2. A DVI, VGA, or HDMI are common ports in the monitor
and used to produce best picture qualities.
3. Once the display is plugged to its proper connector on the
video card or the motherboard, the display is ready. Most
of the time, drivers are not required but it should be
downloaded to utilize a maximum resolution.
Installing the Speakers
1. Determine the type of speaker and its connector.
2. Connect the cable (usually a 3.5mm jack) to the line-out
jack of the computer sound card or on the system unit. 3.
3. Plug in the power cord.
Installing the Webcam
Common webcams can be simply plugged into the USB port
and you will be prompted to install their drivers. Some webcams
would need to have its driver installed first. Make sure to read
the manufacturer’s instruction manual first.
Installing the Printer
1. Make sure to have the printer and power cable.
2. Connect the printer connector to the unit.
3. Insert the ink or toner cartridge to the printer.
4. Turn the printer on.
5. Power the computer.
6. Start the Printer Install Wizard.
7. Follow the instructions to install the Printer Driver.
8. Run a test print to check if the printer is installed
correctly.
33