
Page 177 - Divyank Tyagi
P. 177
|
CreaTing CusTom annoTaTions 143
Labels Like static text, a label offers textual information; however, it’s a live reference to a
parameter value of an element in the project. For example, if you add an Area label, it will pull
the value of the area of the room; if you add a Sheet Number label in a Section Head family in
the Family Editor environment and then use that section head in a project, the label will auto-
matically display the actual sheet number on which the section view is placed in the project.
If you move the section view from one sheet to another, the label will automatically report the
new sheet number.
In Figure 4.31, Unit 4 is a label reporting the room name; the number 201 is a label reporting
the room number. The label behaves as dynamic text and is always fully coordinated with the
value of the model element parameter it represents.
Creating a Custom Door Tag
Imagine you could use the actual width and height of a door element to drive the tag value. You
can! As an example of creating custom tags for a basic model element, use the following steps to
create the custom door tag shown in Figure 4.32. You can download the template files from this
book’s website if you can’t find them in the default location.
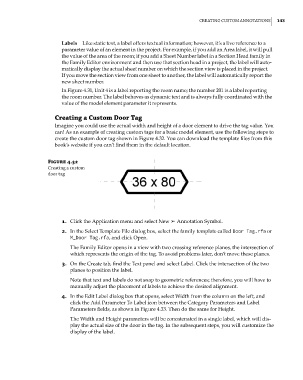
Figure 4.32
Creating a custom
door tag
1. Click the Application menu and select New ➢ Annotation Symbol.
2. In the Select Template File dialog box, select the family template called Door Tag.rfa or
M_Door Tag.rfa, and click Open.
The Family Editor opens in a view with two crossing reference planes, the intersection of
which represents the origin of the tag. To avoid problems later, don’t move these planes.
3. On the Create tab, find the Text panel and select Label. Click the intersection of the two
planes to position the label.
Note that text and labels do not snap to geometric references; therefore, you will have to
manually adjust the placement of labels to achieve the desired alignment.
4. In the Edit Label dialog box that opens, select Width from the column on the left, and
click the Add Parameter To Label icon between the Category Parameters and Label
Parameters fields, as shown in Figure 4.33. Then do the same for Height.
The Width and Height parameters will be concatenated in a single label, which will dis-
play the actual size of the door in the tag. In the subsequent steps, you will customize the
display of the label.
c04.indd 143 5/3/2014 10:37:03 AM