
Page 183 - Divyank Tyagi
P. 183
|
CreaTing CusTom annoTaTions 149
Figure 4.40
The completed
custom section
tag
You can repeat the previous exercises using a callout tag family template instead of a
section tag template to achieve results similar to those shown in Figure 4.41.
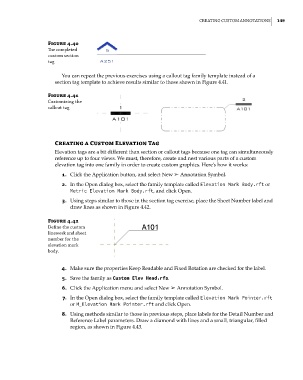
Figure 4.41
Customizing the
callout tag
Creating a Custom elevation Tag
Elevation tags are a bit different than section or callout tags because one tag can simultaneously
reference up to four views. We must, therefore, create and nest various parts of a custom
elevation tag into one family in order to create custom graphics. Here’s how it works:
1. Click the Application button, and select New ➢ Annotation Symbol.
2. In the Open dialog box, select the family template called Elevation Mark Body.rft or
Metric Elevation Mark Body.rft, and click Open.
3. Using steps similar to those in the section tag exercise, place the Sheet Number label and
draw lines as shown in Figure 4.42.
Figure 4.42
define the custom
linework and sheet
number for the
elevation mark
body.
4. Make sure the properties Keep Readable and Fixed Rotation are checked for the label.
5. Save the family as Custom Elev Head.rfa.
6. Click the Application menu and select New ➢ Annotation Symbol.
7. In the Open dialog box, select the family template called Elevation Mark Pointer.rft
or M_Elevation Mark Pointer.rft and click Open.
8. Using methods similar to those in previous steps, place labels for the Detail Number and
Reference Label parameters. Draw a diamond with lines and a small, triangular, filled
region, as shown in Figure 4.43.
c04.indd 149 5/3/2014 10:37:05 AM