
Page 570 - Divyank Tyagi
P. 570
536 | ChaPTER 12 Creating Walls and Curtain Walls
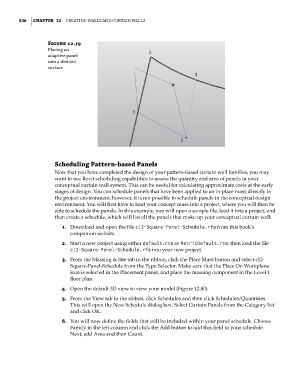
Figure 12.79
Placing an
adaptive panel
into a divided
surface
Scheduling Pattern-based Panels
Now that you have completed the design of your pattern-based curtain wall families, you may
want to use Revit scheduling capabilities to assess the quantity and area of panels in your
conceptual curtain wall system. This can be useful for calculating approximate costs at the early
stages of design. You can schedule panels that have been applied to an in-place mass directly in
the project environment; however, it is not possible to schedule panels in the conceptual design
environment. You will first have to load your concept mass into a project, where you will then be
able to schedule the panels. In this example, you will open a sample file, load it into a project, and
then create a schedule, which will list all the panels that make up your conceptual curtain wall:
1. Download and open the file c12-Square-Panel-Schedule.rfa from this book’s
companion website.
2. Start a new project using either default.rte or MetricDefault.rte; then load the file
c12-Square-Panel-Schedule.rfa into your new project.
3. From the Massing & Site tab in the ribbon, click the Place Mass button and select c12-
Square-Panel-Schedule from the Type Selector. Make sure that the Place On Workplane
icon is selected in the Placement panel, and place the massing component in the Level 1
floor plan.
4. Open the default 3D view to view your model (Figure 12.80).
5. From the View tab in the ribbon, click Schedules and then click Schedules/Quantities.
This will open the New Schedule dialog box. Select Curtain Panels from the Category list
and click OK.
6. You will now define the fields that will be included within your panel schedule. Choose
Family in the left column and click the Add button to add this field to your schedule.
Next, add Area and then Count.
c12.indd 536 5/3/2014 11:13:41 AM