Page 23 - Manual_Movie Edit Pro 2021_EN_Neat
P. 23
Quick start   23

                                  Trim: If you only want to import a certain part of a video clip into your
                                  project, click on the Trim icon with the curved brackets. The video clip will
                                  then appear in the preview monitor. Now use the brackets to mark the
                                  area you want to import on the timeline. Finally drag & drop the video
                                  from the preview monitor into the project by clicking on it and holding
                                  down the mouse button. Only the area previously marked by the brackets
                                  will be imported as a video object.

                                  Import: Click on the Import icon to load the selected media to the project
                                  window.


                         Tip: You can create a link to your personal media folder in order to access the media
                         it contains with just a single click. You can do this by right-clicking on one of the
                         entries and selecting "Create link" in the context menu. Select the media folder and
                         click "OK" to confirm.

                         Note: All links are automatically deleted if the function "Reset standard program
                         settings" is used.


                        Display modes

                        With the help of the button in the center of the toolbar, you can switch between the
                        "Timeline-", "Storyboard" and "Scene overview" modes. Another button for the
                        multicam mode is available in the Plus/Premium version.

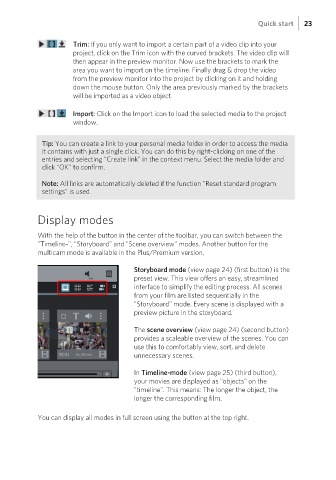
                                                   Storyboard mode (view page 24) (first button) is the
                                                   preset view. This view offers an easy, streamlined
                                                   interface to simplify the editing process. All scenes
                                                   from your film are listed sequentially in the
                                                   "Storyboard" mode. Every scene is displayed with a
                                                   preview picture in the storyboard.

                                                   The scene overview (view page 24) (second button)
                                                   provides a scaleable overview of the scenes. You can
                                                   use this to comfortably view, sort, and delete
                                                   unnecessary scenes.

                                                   In Timeline-mode (view page 25) (third button),

                                                   your movies are displayed as "objects" on the
                                                   "timeline". This means: The longer the object, the
                                                   longer the corresponding film.


                        You can display all modes in full screen using the button at the top right.

