
Page 187 - Photoshop for Lightroom Users – Scott Kelby 2nd Edition
P. 187
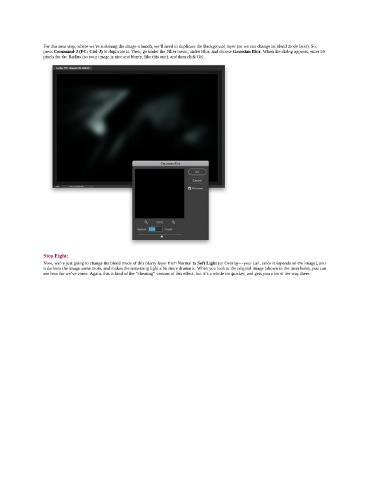
For this next step, where we’re softening the image a bunch, we’ll need to duplicate the Background layer (so we can change its blend mode later). So,
               press Command-J (PC: Ctrl-J) to duplicate it. Then, go under the Filter menu, under Blur, and choose Gaussian Blur. When the dialog appears, enter 50
               pixels for the Radius (so your image is nice and blurry, like this one), and then click OK.


               Step Eight:
               Now, we’re just going to change the blend mode of this blurry layer from Normal to Soft Light (or Overlay—your call, since it depends on the image), and
               it darkens the image some more, and makes the remaining light a bit more dramatic. When you look at the original image (shown in the inset here), you can
               see how far we’ve come. Again, this is kind of the “cheating” version of this effect, but it’s a whole lot quicker, and gets you a lot of the way there.