
Page 156 - Kitab3DsMax
P. 156
Part I: Getting Started with 3ds Max
On the right side of the Toolbars panel is a section where you can populate and arrange the Quick Access
Toolbar that appears on the title bar.
Tutorial: Creating a custom toolbar
If you’ve been using Max for a while, you probably have several favorite commands that you use exten-
sively. You can create a custom toolbar of all your favorite commands. To learn how to do this, you’ll create
a custom toolbar for the compound objects.
To create a custom toolbar for creating compound objects, follow these steps:
1. Open the Customize User Interface dialog box by choosing Customize ➪ Custom User Interface.
2. Open the Toolbars panel, and click the New button. In the New Toolbar dialog box that appears,
name the toolbar Compound Objects. After you click OK, a new blank toolbar appears.
3. Select the Main UI group and the Objects Compounds category from the drop-down lists on the
left. Then drag each command in the Action list to the new blank toolbar.
4. Click the Save button to save the changes to the customized interface file. You can load the result-
ing toolbar from the Chap 04 directory on the DVD. It is named Compound Objects toolbar.cui.
Note
Don’t be alarmed if the toolbar icons show up gray. Gray icons are simply disabled. When the tool is enabled,
they are shown in color. n
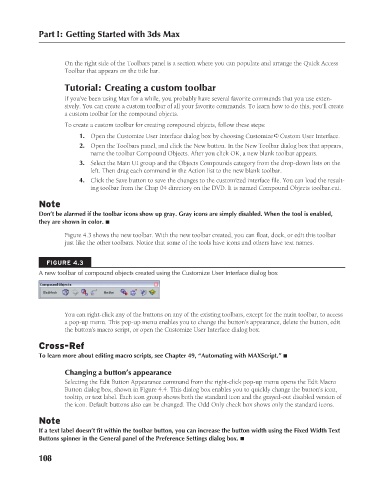
Figure 4.3 shows the new toolbar. With the new toolbar created, you can float, dock, or edit this toolbar
just like the other toolbars. Notice that some of the tools have icons and others have text names.
FIGURE 4.3
A new toolbar of compound objects created using the Customize User Interface dialog box
You can right-click any of the buttons on any of the existing toolbars, except for the main toolbar, to access
a pop-up menu. This pop-up menu enables you to change the button’s appearance, delete the button, edit
the button’s macro script, or open the Customize User Interface dialog box.
Cross-Ref
To learn more about editing macro scripts, see Chapter 49, “Automating with MAXScript.” n
Changing a button’s appearance
Selecting the Edit Button Appearance command from the right-click pop-up menu opens the Edit Macro
Button dialog box, shown in Figure 4.4. This dialog box enables you to quickly change the button’s icon,
tooltip, or text label. Each icon group shows both the standard icon and the grayed-out disabled version of
the icon. Default buttons also can be changed. The Odd Only check box shows only the standard icons.
Note
If a text label doesn’t fit within the toolbar button, you can increase the button width using the Fixed Width Text
Buttons spinner in the General panel of the Preference Settings dialog box. n
108
6/30/10 3:34 PM
09_617779-ch04.indd 108 6/30/10 3:34 PM
09_617779-ch04.indd 108