
Page 256 - Kitab3DsMax
P. 256
Part II: Working with Objects
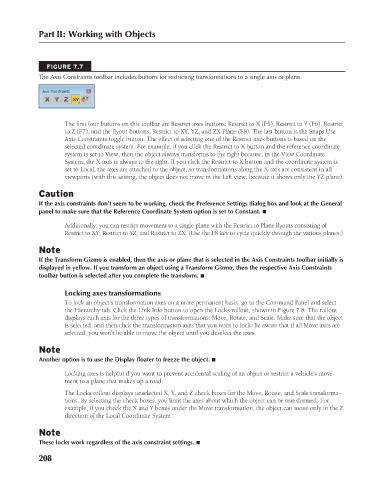
FIGURE 7.7
The Axis Constraints toolbar includes buttons for restricting transformations to a single axis or plane.
The first four buttons on this toolbar are Restrict axes buttons: Restrict to X (F5), Restrict to Y (F6), Restrict
to Z (F7), and the flyout buttons, Restrict to XY, YZ, and ZX Plane (F8). The last button is the Snaps Use
Axis Constraints toggle button. The effect of selecting one of the Restrict axes buttons is based on the
selected coordinate system. For example, if you click the Restrict to X button and the reference coordinate
system is set to View, then the object always transforms to the right because, in the View Coordinate
System, the X-axis is always to the right. If you click the Restrict to X button and the coordinate system is
set to Local, the axes are attached to the object, so transformations along the X-axis are consistent in all
viewports (with this setting, the object does not move in the Left view, because it shows only the YZ plane).
Caution
If the axis constraints don’t seem to be working, check the Preference Settings dialog box and look at the General
panel to make sure that the Reference Coordinate System option is set to Constant. n
Additionally, you can restrict movement to a single plane with the Restrict to Plane flyouts consisting of
Restrict to XY, Restrict to YZ, and Restrict to ZX. (Use the F8 key to cycle quickly through the various planes.)
Note
If the Transform Gizmo is enabled, then the axis or plane that is selected in the Axis Constraints toolbar initially is
displayed in yellow. If you transform an object using a Transform Gizmo, then the respective Axis Constraints
toolbar button is selected after you complete the transform. n
Locking axes transformations
To lock an object’s transformation axes on a more permanent basis, go to the Command Panel and select
the Hierarchy tab. Click the Link Info button to open the Locks rollout, shown in Figure 7.8. The rollout
displays each axis for the three types of transformations: Move, Rotate, and Scale. Make sure that the object
is selected, and then click the transformation axes that you want to lock. Be aware that if all Move axes are
selected, you won’t be able to move the object until you deselect the axes.
Note
Another option is to use the Display floater to freeze the object. n
Locking axes is helpful if you want to prevent accidental scaling of an object or restrict a vehicle’s move-
ment to a plane that makes up a road.
The Locks rollout displays unselected X, Y, and Z check boxes for the Move, Rotate, and Scale transforma-
tions. By selecting the check boxes, you limit the axes about which the object can be transformed. For
example, if you check the X and Y boxes under the Move transformation, the object can move only in the Z
direction of the Local Coordinate System.
Note
These locks work regardless of the axis constraint settings. n
208
6/30/10 4:15 PM
13_617779-ch07.indd 208 6/30/10 4:15 PM
13_617779-ch07.indd 208