
Page 387 - Kitab3DsMax
P. 387
Chapter 12: Drawing and Editing 2D Splines and Shapes
use the Extend command, click the Extend button and then click the segment to extend. The spline you
click is extended. To exit Extend mode, right-click in the viewport or click the Extend button again.
The Infinite Bounds option works for both the Trim and Extend buttons. When enabled, it treats all open
splines as if they were infinite for the purpose of locating an intersecting point. The Extend command, like
Trim, is dependent on the active viewport.
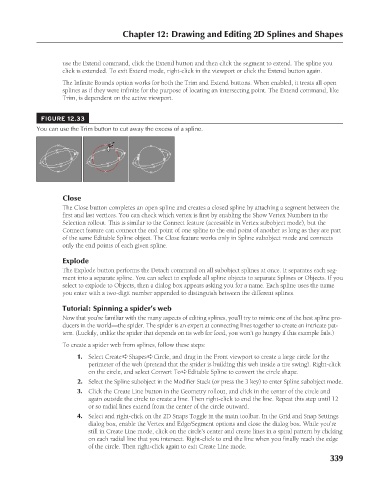
FIGURE 12.33
You can use the Trim button to cut away the excess of a spline.
Close
The Close button completes an open spline and creates a closed spline by attaching a segment between the
first and last vertices. You can check which vertex is first by enabling the Show Vertex Numbers in the
Selection rollout. This is similar to the Connect feature (accessible in Vertex subobject mode), but the
Connect feature can connect the end point of one spline to the end point of another as long as they are part
of the same Editable Spline object. The Close feature works only in Spline subobject mode and connects
only the end points of each given spline.
Explode
The Explode button performs the Detach command on all subobject splines at once. It separates each seg-
ment into a separate spline. You can select to explode all spline objects to separate Splines or Objects. If you
select to explode to Objects, then a dialog box appears asking you for a name. Each spline uses the name
you enter with a two-digit number appended to distinguish between the different splines.
Tutorial: Spinning a spider’s web
Now that you’re familiar with the many aspects of editing splines, you’ll try to mimic one of the best spline pro-
ducers in the world—the spider. The spider is an expert at connecting lines together to create an intricate pat-
tern. (Luckily, unlike the spider that depends on its web for food, you won’t go hungry if this example fails.)
To create a spider web from splines, follow these steps:
1. Select Create ➪ Shapes ➪ Circle, and drag in the Front viewport to create a large circle for the
perimeter of the web (pretend that the spider is building this web inside a tire swing). Right-click
on the circle, and select Convert To ➪ Editable Spline to convert the circle shape.
2. Select the Spline subobject in the Modifier Stack (or press the 3 key) to enter Spline subobject mode.
3. Click the Create Line button in the Geometry rollout, and click in the center of the circle and
again outside the circle to create a line. Then right-click to end the line. Repeat this step until 12
or so radial lines extend from the center of the circle outward.
4. Select and right-click on the 2D Snaps Toggle in the main toolbar. In the Grid and Snap Settings
dialog box, enable the Vertex and Edge/Segment options and close the dialog box. While you’re
still in Create Line mode, click on the circle’s center and create lines in a spiral pattern by clicking
on each radial line that you intersect. Right-click to end the line when you finally reach the edge
of the circle. Then right-click again to exit Create Line mode.
339
6/30/10 4:20 PM
19_617779-ch12.indd 339
19_617779-ch12.indd 339 6/30/10 4:20 PM