
Page 823 - Kitab3DsMax
P. 823
Chapter 31: Painting in the Viewpoint Canvas and Rendering Surface Maps
With an object selected, select one of the brushes in the Canvas palette; if the object has a material with a
bitmap applied, you can begin painting right away. If the object doesn’t have a material or a texture applied,
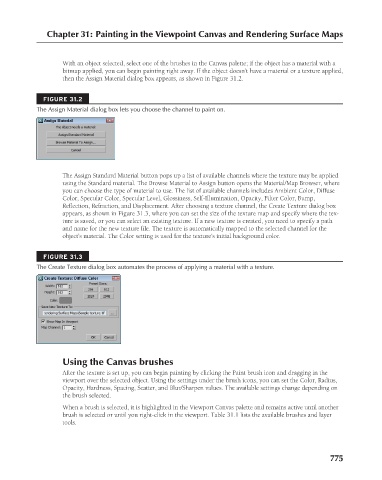
then the Assign Material dialog box appears, as shown in Figure 31.2.
FIGURE 31.2
The Assign Material dialog box lets you choose the channel to paint on.
The Assign Standard Material button pops up a list of available channels where the texture may be applied
using the Standard material. The Browse Material to Assign button opens the Material/Map Browser, where
you can choose the type of material to use. The list of available channels includes Ambient Color, Diffuse
Color, Specular Color, Specular Level, Glossiness, Self-Illumination, Opacity, Filter Color, Bump,
Reflection, Refraction, and Displacement. After choosing a texture channel, the Create Texture dialog box
appears, as shown in Figure 31.3, where you can set the size of the texture map and specify where the tex-
ture is saved, or you can select an existing texture. If a new texture is created, you need to specify a path
and name for the new texture file. The texture is automatically mapped to the selected channel for the
object’s material. The Color setting is used for the texture’s initial background color.
FIGURE 31.3
The Create Texture dialog box automates the process of applying a material with a texture.
Using the Canvas brushes
After the texture is set up, you can begin painting by clicking the Paint brush icon and dragging in the
viewport over the selected object. Using the settings under the brush icons, you can set the Color, Radius,
Opacity, Hardness, Spacing, Scatter, and Blur/Sharpen values. The available settings change depending on
the brush selected.
When a brush is selected, it is highlighted in the Viewport Canvas palette and remains active until another
brush is selected or until you right-click in the viewport. Table 31.1 lists the available brushes and layer
tools.
775