Page 853 - Kitab3DsMax
P. 853
Chapter 32: Unwrapping UVs and Mapping Textures
                                                    entire part is selected. Then click the Planar button in the Map Parameters rollout in the
                                                    Command Panel to orient the part to match the wing. Then move the aileron up to the top of the
                                                    Edit UVWs window near the wing UVs. Repeat this step for the other right aileron.
                                                 7. Enable the Select Element option at the bottom of the Edit UVWs window so you can select the
                                                    entire part by clicking it. Then use the Freeform mode button to move and scale the ailerons to fit
                                                    next to the wing.
                                     Tip         6. Select the center of one of the right ailerons, and click the Expand Selection button until the
                                     If you need to seamlessly fit two separate parts together, you can use the Welding feature in Vertex subobject
                                     mode to weld the vertices on each part. n
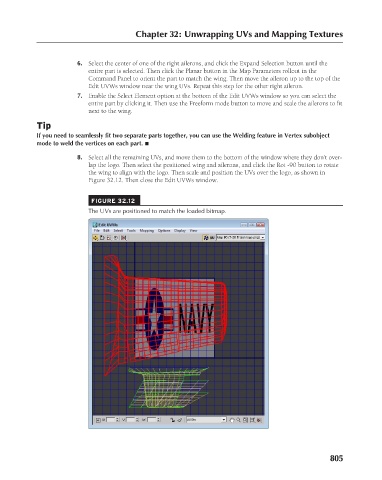
                                                 8. Select all the remaining UVs, and move them to the bottom of the window where they don’t over-
                                                    lap the logo. Then select the positioned wing and ailerons, and click the Rot -90 button to rotate
                                                    the wing to align with the logo. Then scale and position the UVs over the logo, as shown in
                                                    Figure 32.12. Then close the Edit UVWs window.
                                                     FIGURE 32.12
                                                    The UVs are positioned to match the loaded bitmap.


                                                                                                                       805

