
Page 113 - luminar 2018 - user manual pc v 2_3.pages
P. 113
Masking Options in Luminar
The use of masks allow you to hide or obscure parts of an image. Masks are useful so you can
combine the contents or results of one layer with your primary image. Layer Masks allow you to use
powerful painting tools to control their results. The more you work on combining multiple images,
the more you’ll use masks.
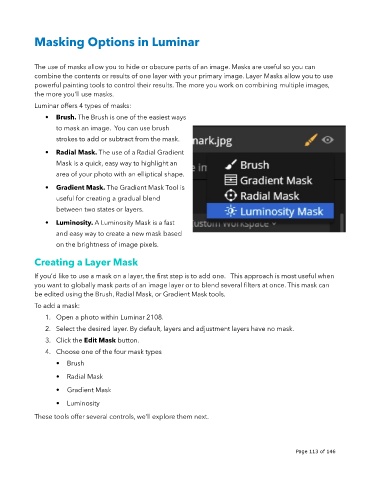
Luminar offers 4 types of masks:
• Brush. The Brush is one of the easiest ways
to mask an image. You can use brush
strokes to add or subtract from the mask.
• Radial Mask. The use of a Radial Gradient
Mask is a quick, easy way to highlight an
area of your photo with an elliptical shape.
• Gradient Mask. The Gradient Mask Tool is
useful for creating a gradual blend
between two states or layers.
• Luminosity. A Luminosity Mask is a fast
and easy way to create a new mask based
on the brightness of image pixels.
Creating a Layer Mask
If you’d like to use a mask on a layer, the first step is to add one. This approach is most useful when
you want to globally mask parts of an image layer or to blend several filters at once. This mask can
be edited using the Brush, Radial Mask, or Gradient Mask tools.
To add a mask:
1. Open a photo within Luminar 2108.
2. Select the desired layer. By default, layers and adjustment layers have no mask.
3. Click the Edit Mask button.
4. Choose one of the four mask types
• Brush
• Radial Mask
• Gradient Mask
• Luminosity
These tools offer several controls, we’ll explore them next.
!
!
Page 113 of 146