
Page 117 - luminar 2018 - user manual pc v 2_3.pages
P. 117
• Softness. Controls how much blending there is between the center of the brush and its
edges. This can create a more gradual blend on any mask. You can also use the
keyboard shortcuts of Shift + [ or ] to make the brush harder or softer.
• Opacity. This controls the overall opacity in the brush. A brush at 100% has full impact.
A brush set to 50% will only add or subtract half of its strength.
• Pen Pressure. If you have a pen tablet attached, you can also configure Pen Pressure,
Radius and Opacity levels. This allows you to draw on the tablet and have the force
applied to the pen transfer to the size and density of the brush.
10. Click and paint on the canvas to modify the selected mask (layer or adjustment layer).
11. To refine the mask even more, click the Mask Menu to modify the Density and Feathering for
the mask. This can control how the mask applies and help blend its results more.
• Density. Controls the transparency of pixels outside of a mask so the overall the mask
fades into the background better.
• Feather. Blurs the edges of a mask to more naturally fade the mask adjustments into the
image.
12. Toggle the mask visibility off by clicking the Visibility icon (eyeball) in the toolbar.
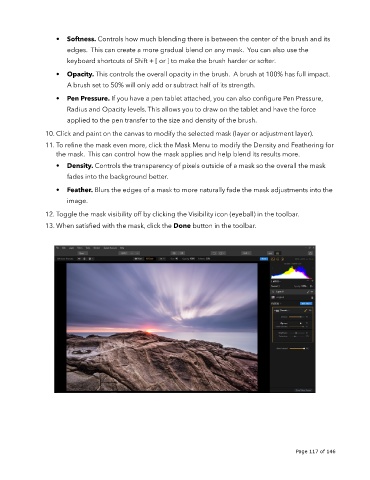
13. When satisfied with the mask, click the Done button in the toolbar.
!
!
Page 117 of 146